
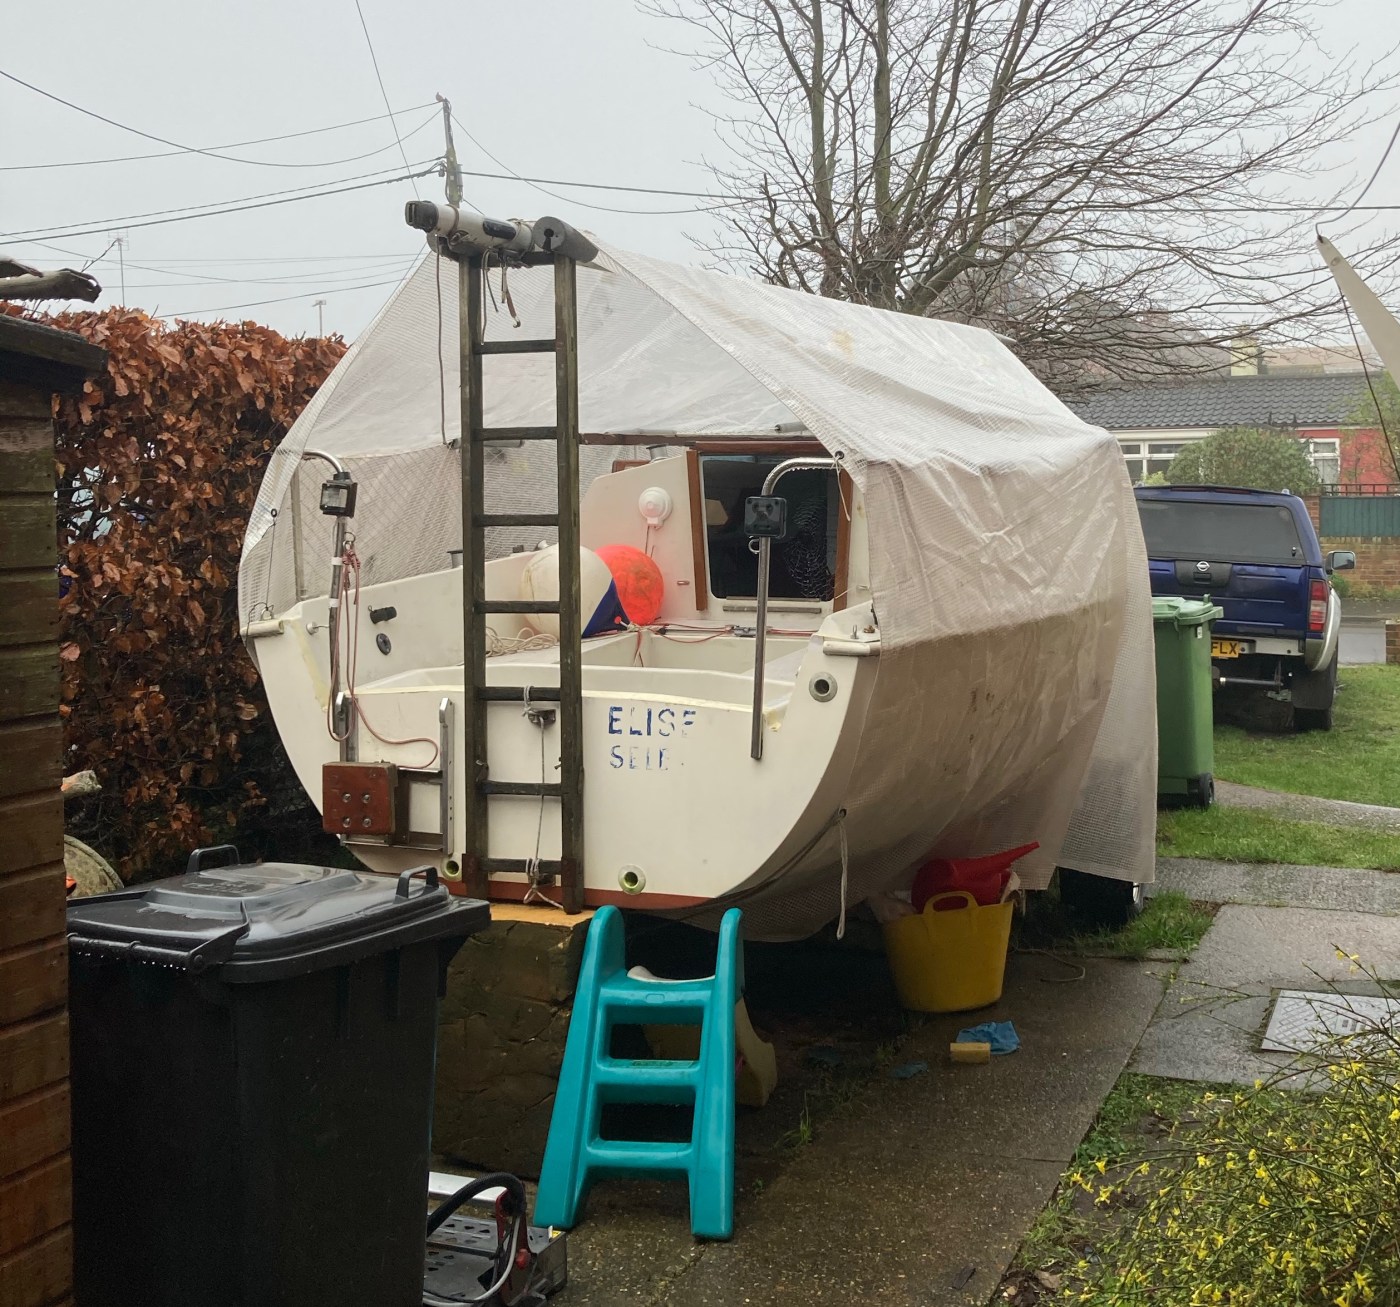
Lockdown Project
How far were we going to go with the work?
If you recall the skip principle from my post ‘Buying a trailer sailer’ then we are still basing our purchase on this principle. If you haven’t seen the post you can read it here.
So we identified quickly all of the work that was essential in order for her to be seaworthy. Then the work we’d like to do as part of a longer term renovation project.
Essential jobs
- Restore the transom
- Fabricate a new rudder stock
- Deck paint
- Sail repair
- New outboard motor
- Put her back together – shelves, bunks, electrics e.t.c
As you can see the list wasn’t too bad but there were a few items that were about as ambitious as I’d liked and were considered when originally purchased.
Non essential/long term
- Re-upholster
- New carpet lining
- Convert fore peak into berth for the children
- Make bed infill to create a double bed
- Replace rubbing strakes
- Upgrade electrics and displays
- Replace rigging
- Adding solar panel
These were all jobs that were going to cost money but weren’t actually required for operational purposes and could be done at a later date. We wanted to see if she even floated first.
Removing the raised transom
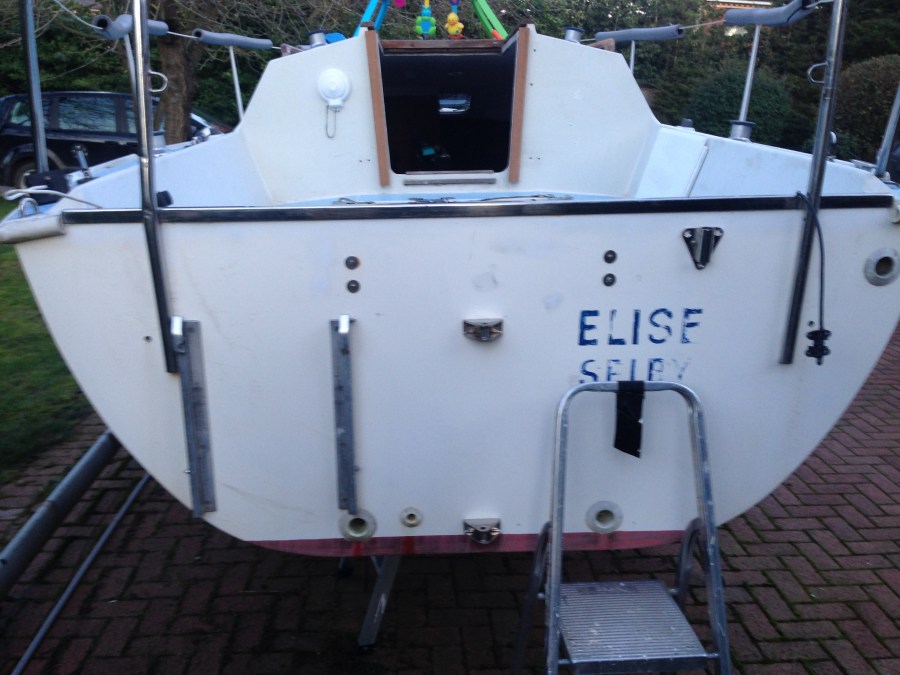
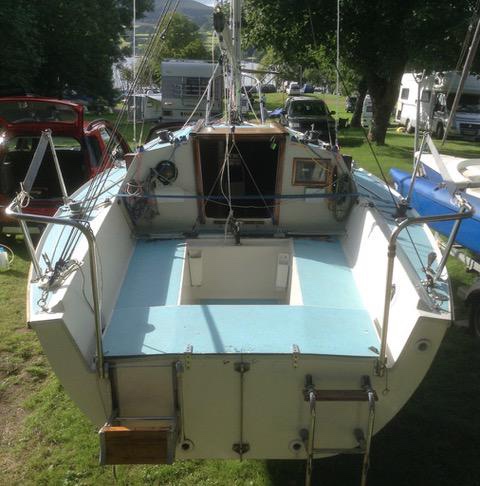
At some point in time a previous owner had raised the transom. Perhaps it was for a safety reason i.e. children or maybe just preference. Either way it had to go, one thing I liked about the Harrier vs the Medina is the lower more open transom. It looked a bit sportier and served as a nice toe dipping platform.
The transom had been raised using ply and GRP layup, the boat was actually resprayed at some point and I think the transom was modified at the same time. Anyway it was delaminated and water logged.
Unknown to me what the extent was, I set to with a multi cutter and chopped it back. Luckily it was only added on and I was able to chop it back to the original transom height. I then sanded it and applied some gel coat to finish it off. One job ticked off the list.
Designing and building a new rudder stock
One of the most crucial jobs was to make a new rudder stock. The boat came with some pieces of ply that had been templated from the old rotten pivoting style stock. The plywood rudder blade looked ok and I was sure that after a few coats of epoxy and varnish it would certainly look the part. The tiller was in great condition so 2 coats of epoxy, a few coats of varnish and that would be job done. The main issue was the stock. Luckily I’d primed my Dad when we were mid purchase – he works in a boat yard doing all kinds of fabrication and is an engineer. He was confident it would be a piece of cake and with my birthday looming I too was looming in his garden wielding a rudder and a tiller looking hopeful.
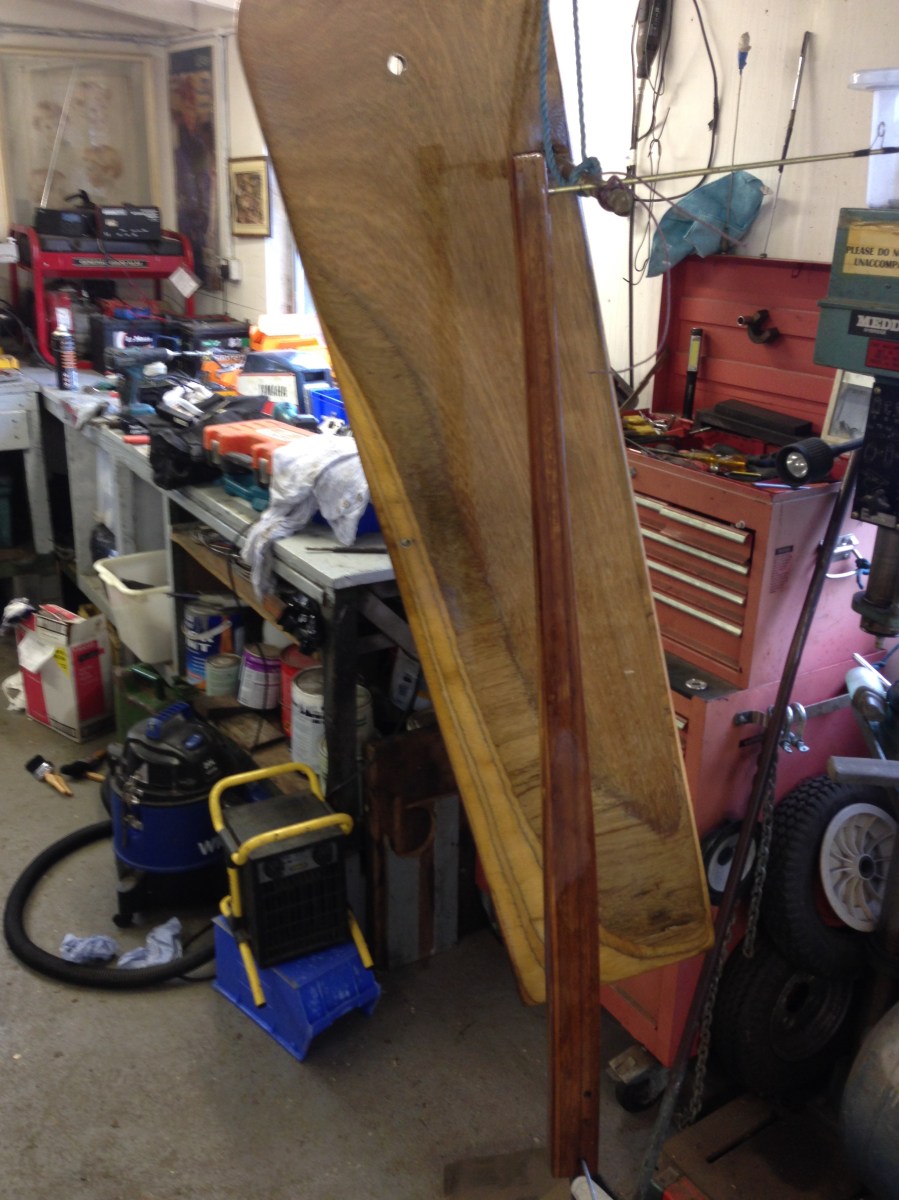
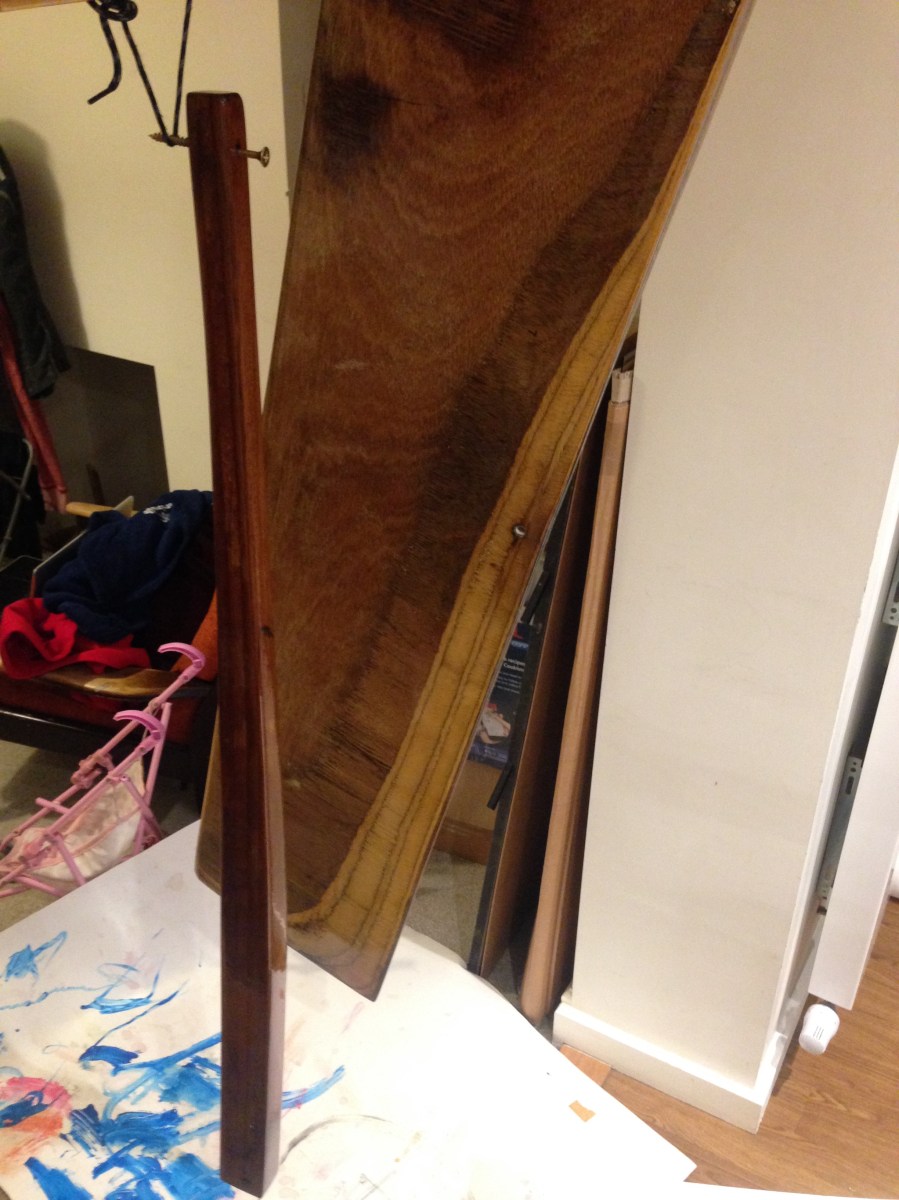
Once the rudder and tiller found its place in Greg’s workshop, he set to with the design. Off he went to get all the steel to do the job. He measured and drew the transom of Elise onto a table so that he could work out the angles for a pivoting style rudder.
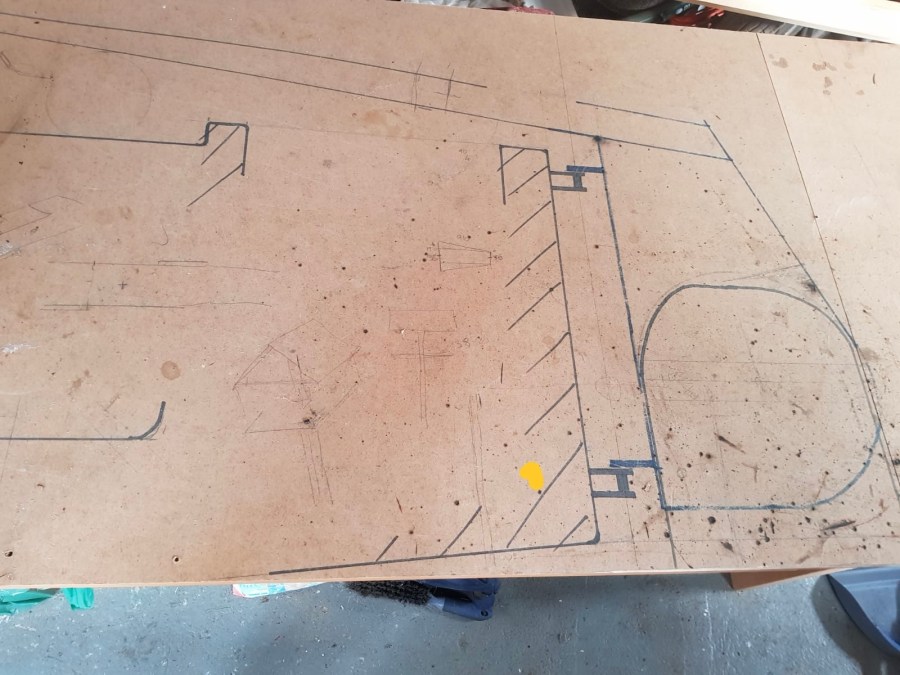
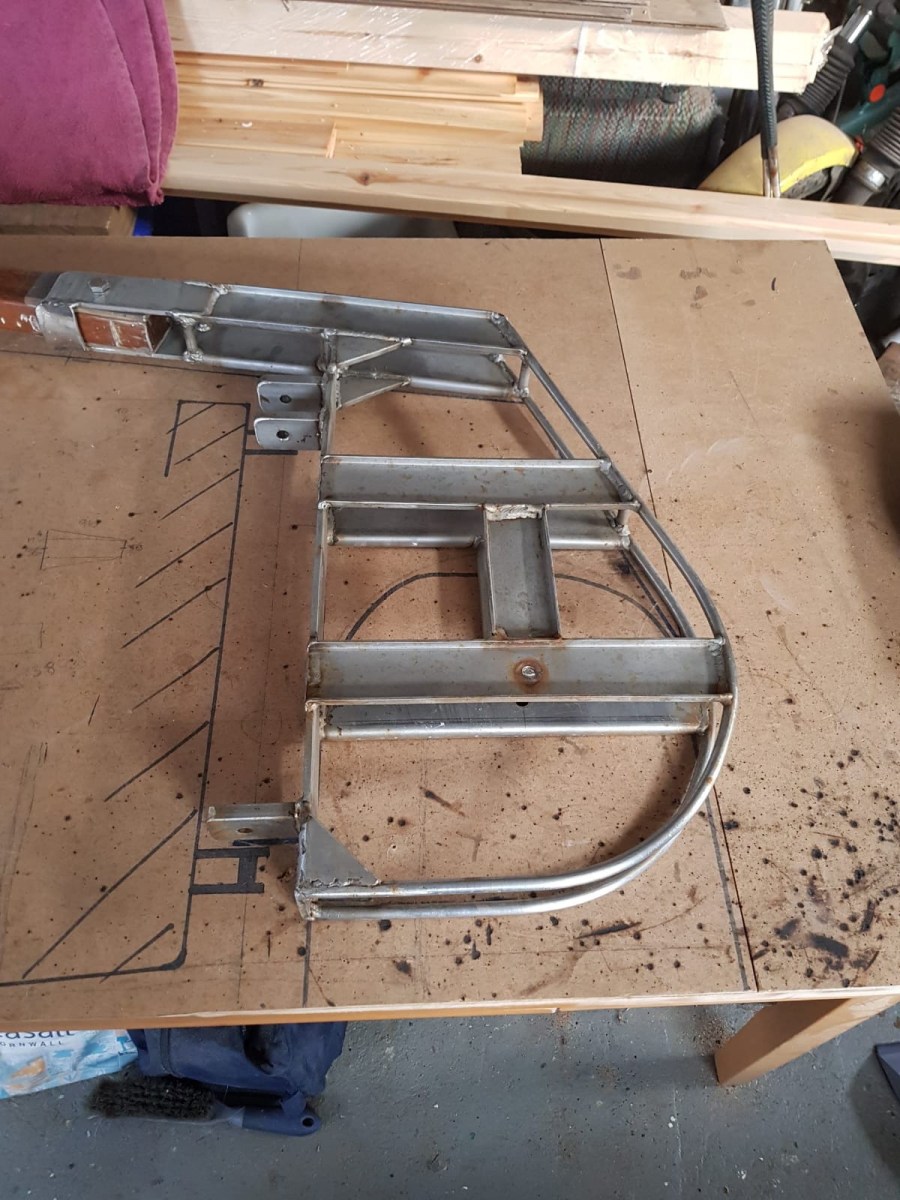
A bit of father-son bonding and a couple of days later – voila
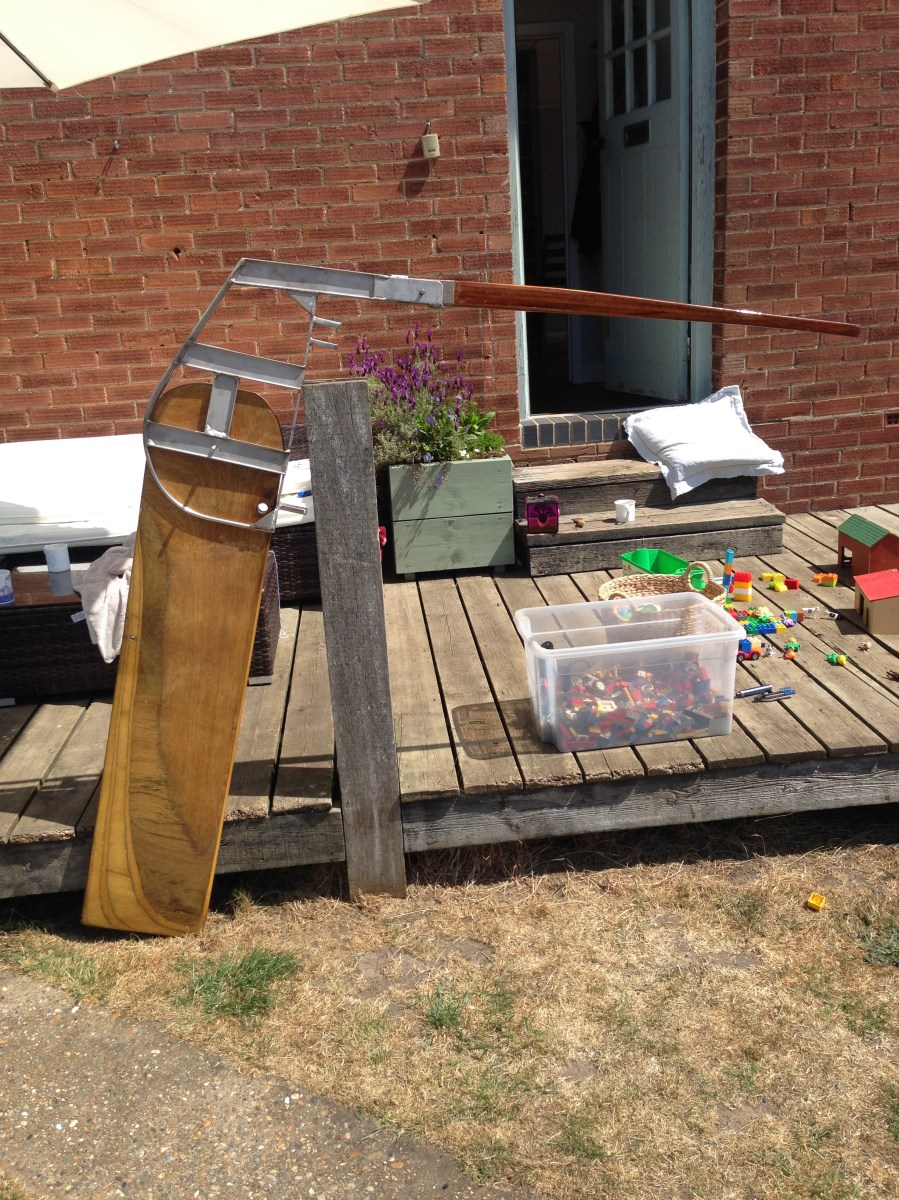
Deck paint
One job that would really do Elise some favours was to paint the deck. After prepping the surface I called Witham Oil and paints in Lowestoft and ordered some light grey non-slip deck paint. Once it was ready I bombed over there, shot back and started applying it. All was great apart from it looking like an army tank, it was more of a green than light grey. It had to go.
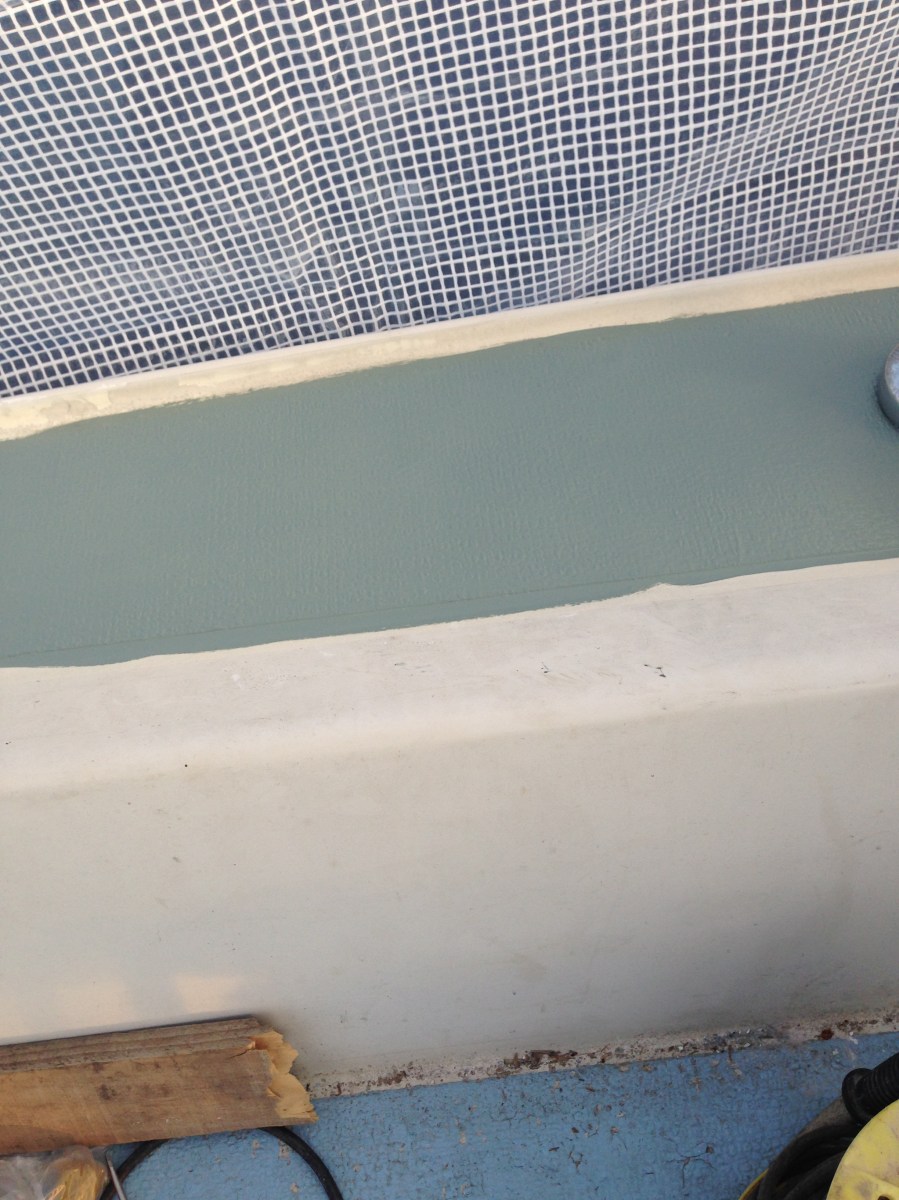
After calling them up and arguing about whether it was green or grey, I then told them the Mrs was gonna go crazy when she sees it and that I needed to change it asap or I’m in trouble. Luckily they sorted me out as I do buy all of our club safety boat paints from them. I then ordered some white paint not taking any risks. Bombed it there and back – I applied 2 coats and the deck was looking fantastic. Another job ticked off the list.
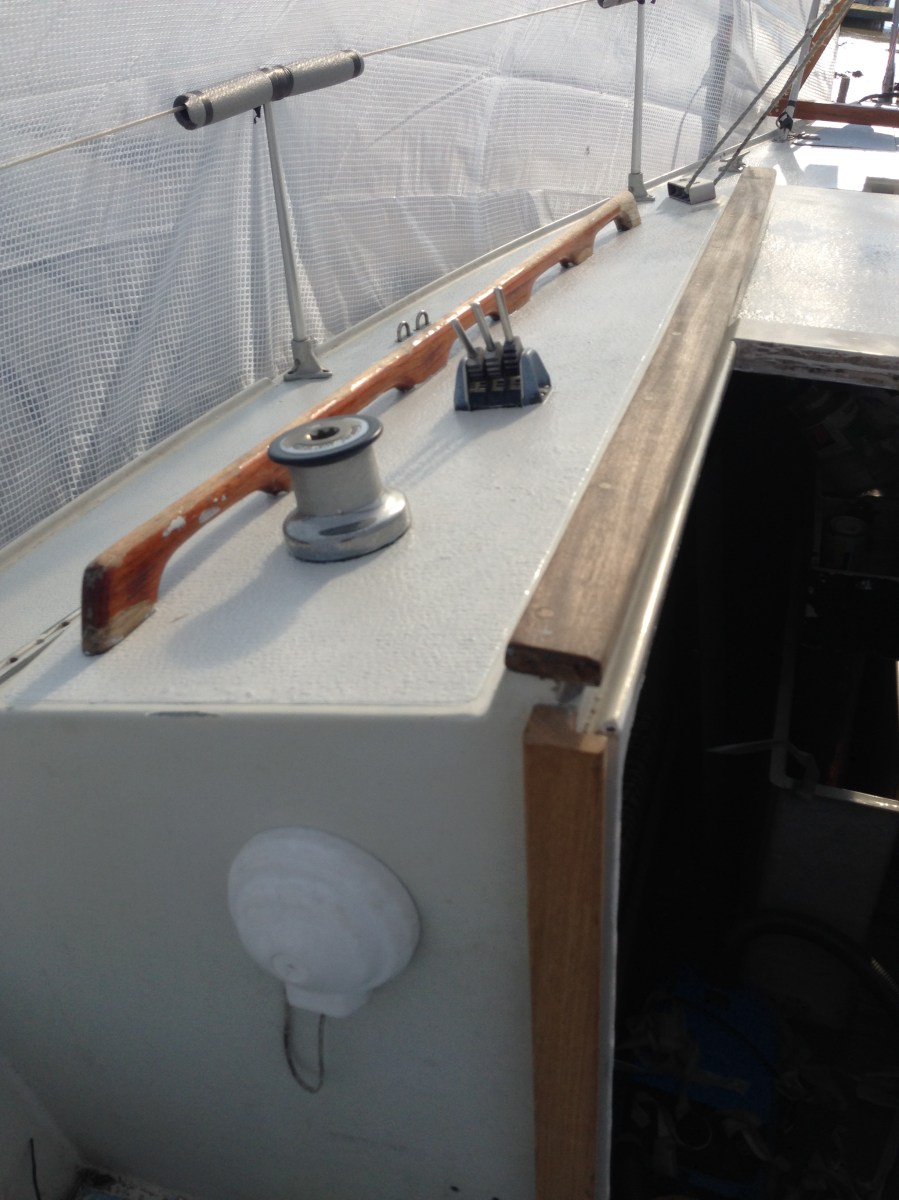
Woodwork
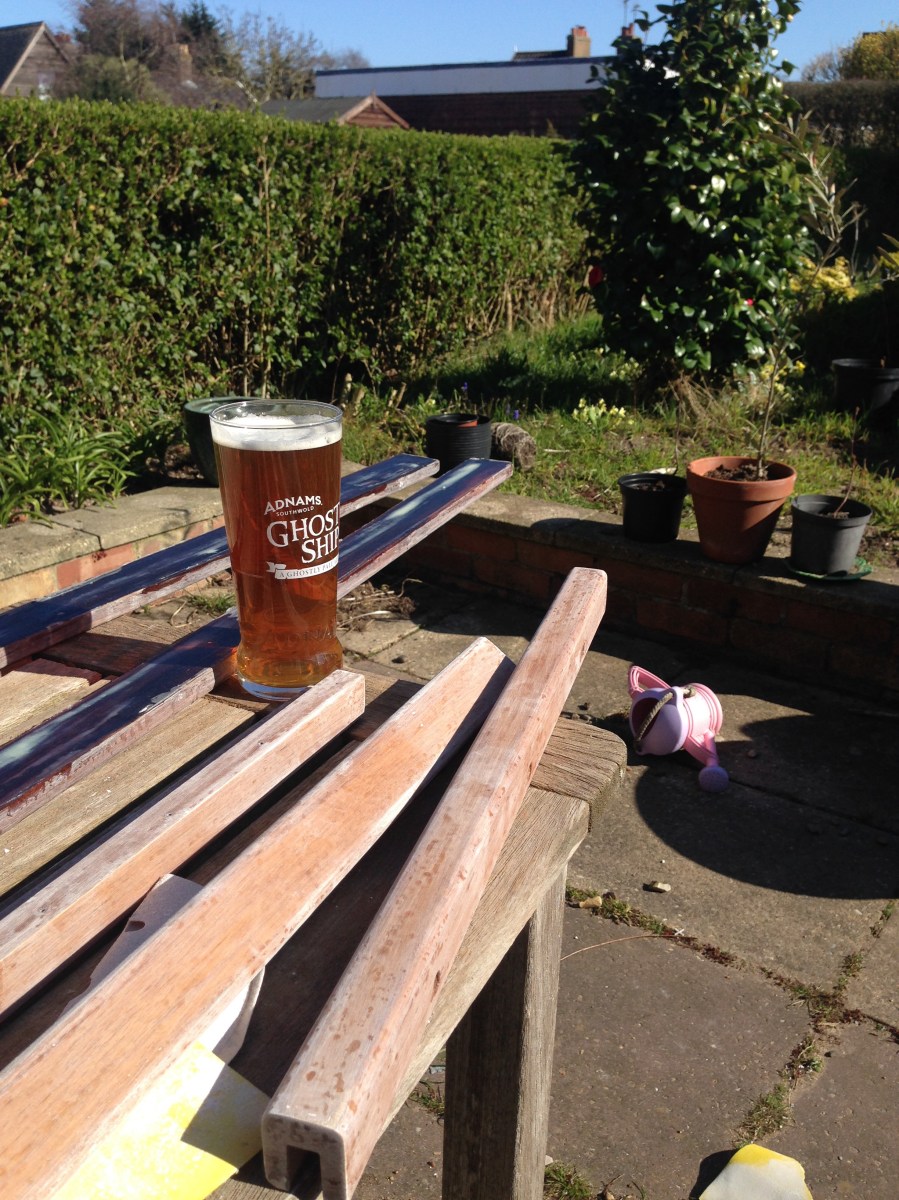
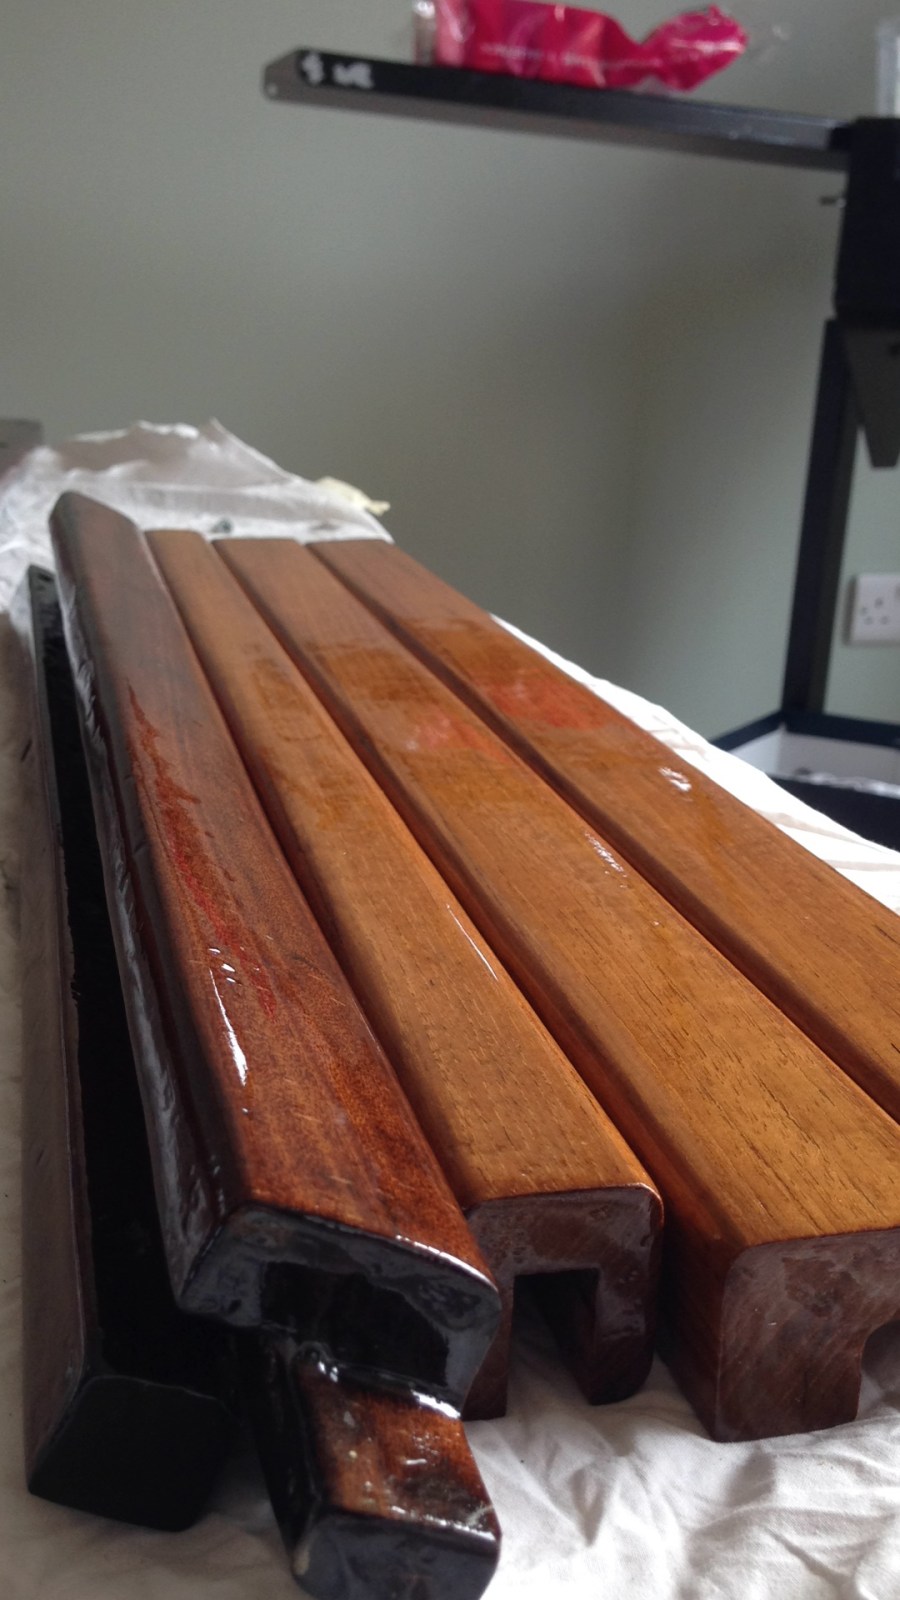
Next job on the list was to overhaul the wooden sliders for the hatch, wash board sliders and hand rails. Wasn’t too bad a job to do and had a big impact on the progress.
Sail repair
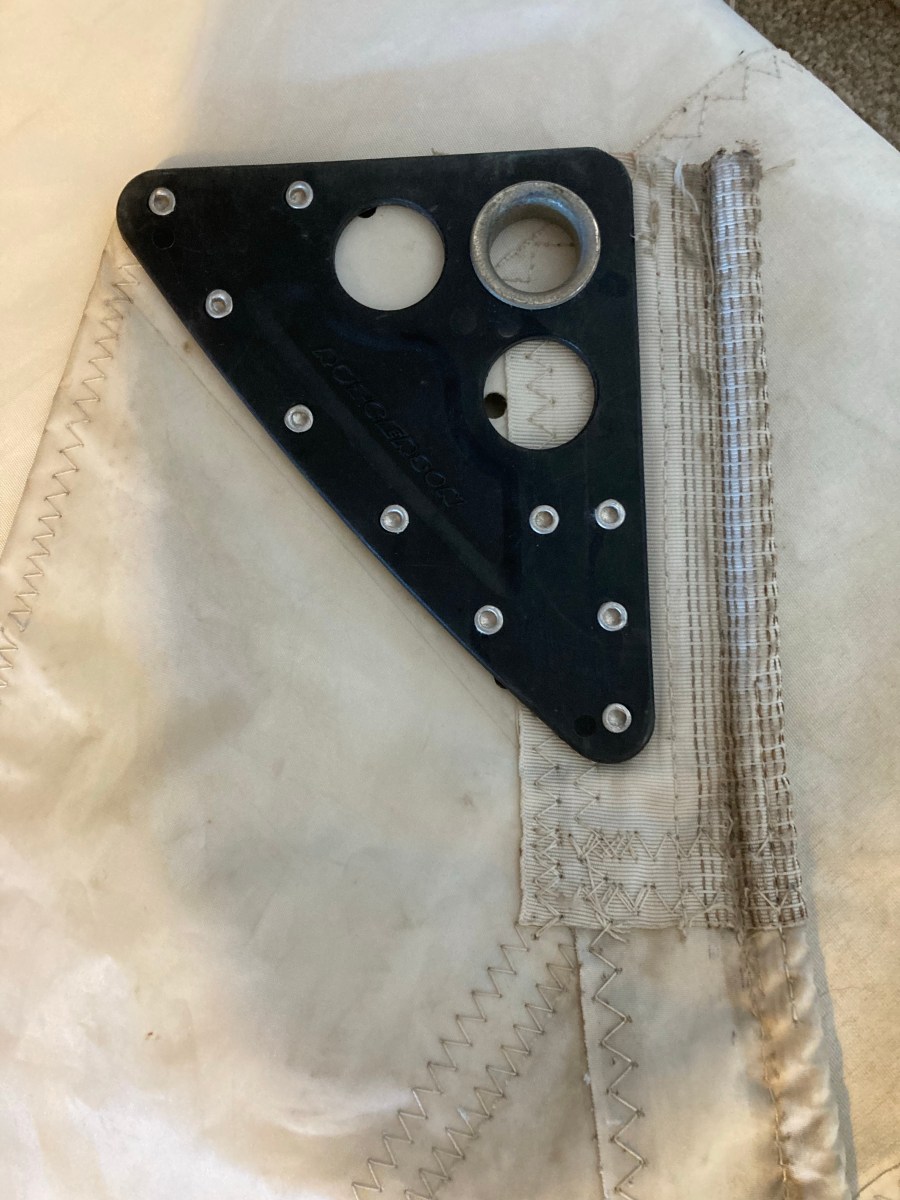
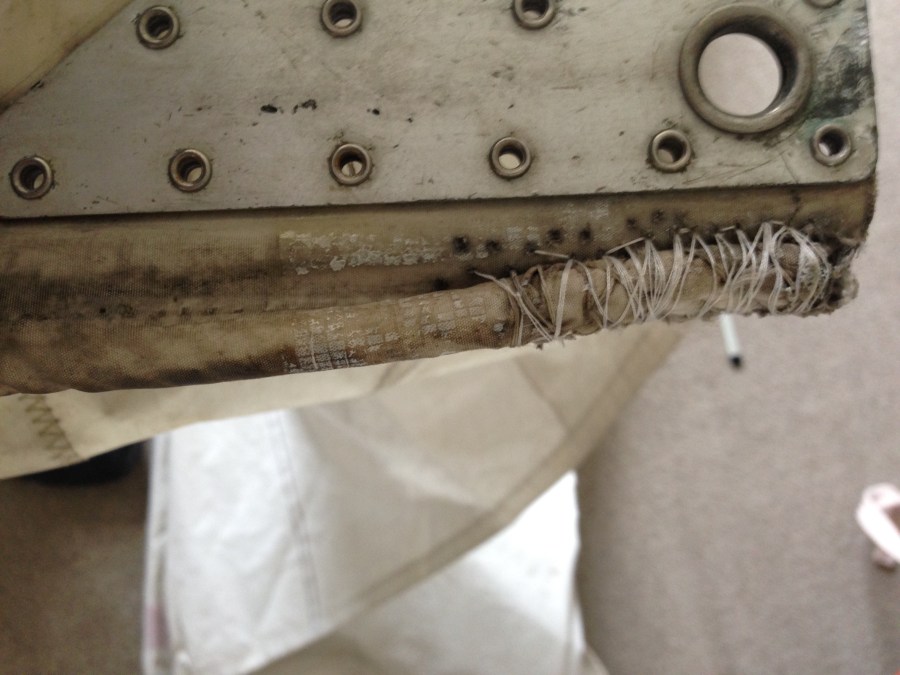
The main sail needed a new head board so I sent it off to Suffolk Sails who did a great job. It was the most expensive part of the project so far but it had to be done.
Putting her back together
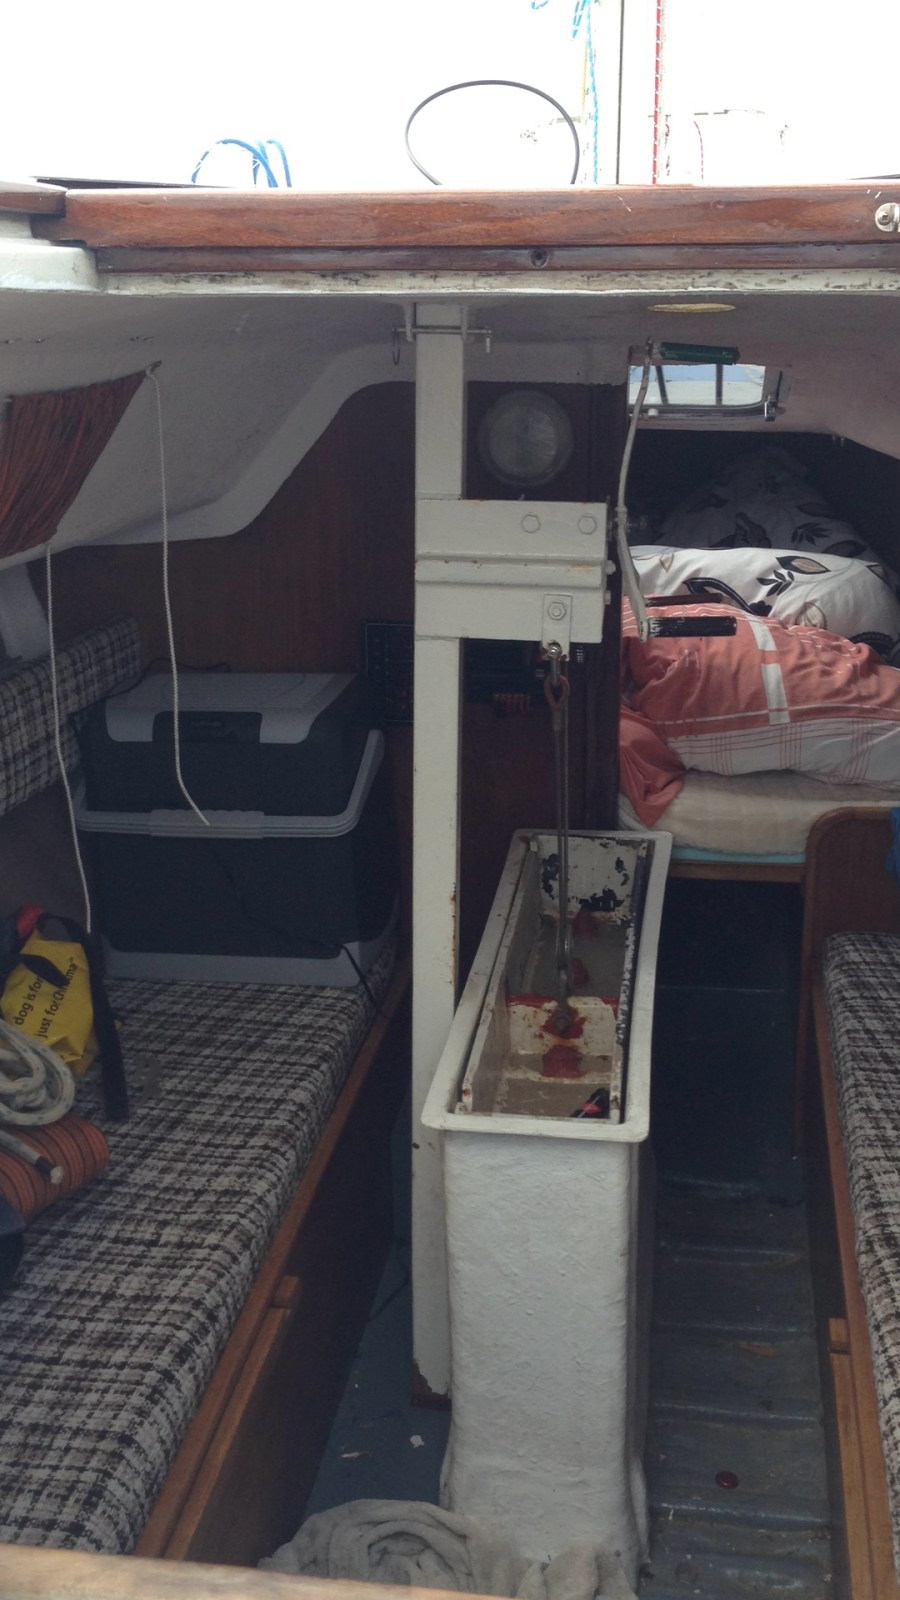
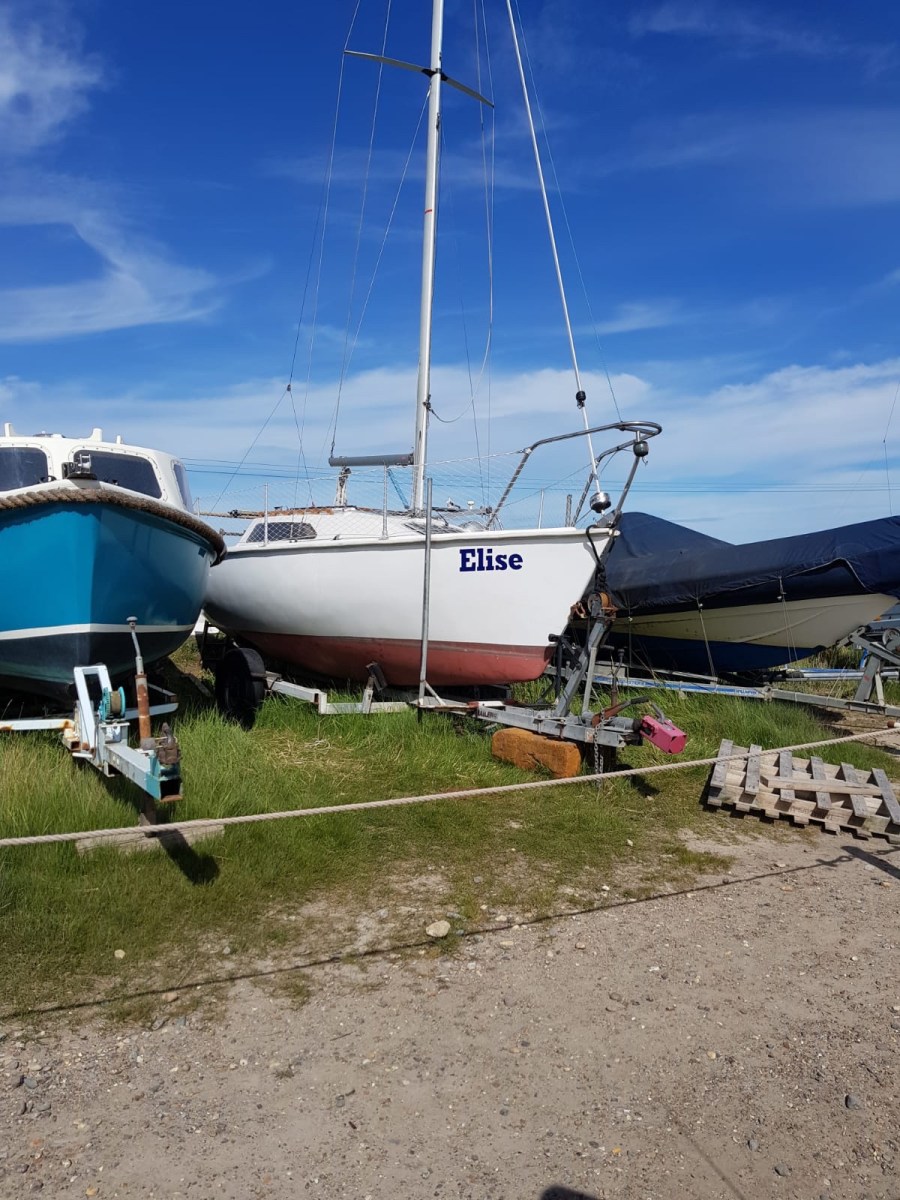
When we purchased Elise, she was mid project, So it’s not surprising that we just had boxes of fittings and stacks of components ready to be reinstalled. This was actually great as the previous owner had really tidied her up and all we had to do was put her back together.
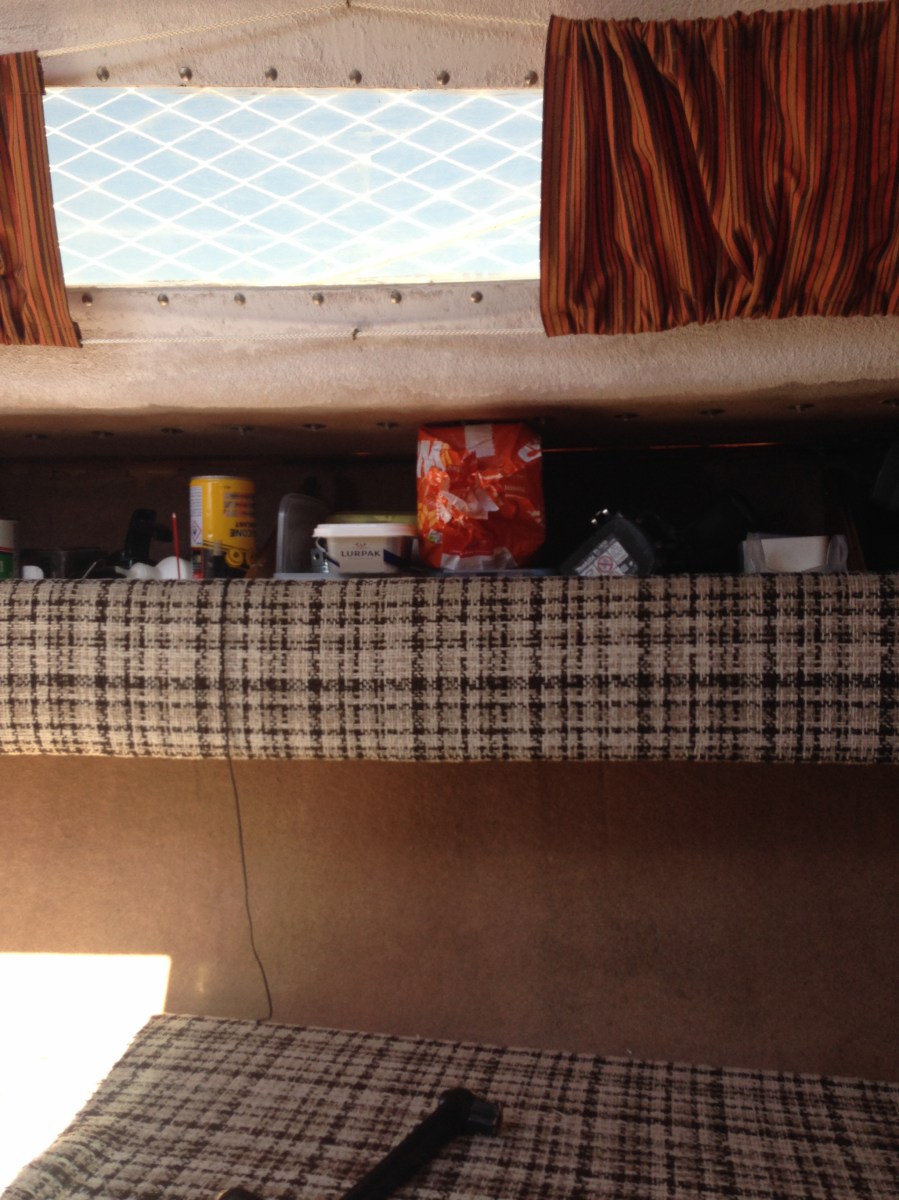
Ok, let’s face it, the interior was worn out and dated and the carpet lining resembled what I imagine the insides of a kangaroo’s marsupium to look and feel like, or perhaps if you were to brush the back of your hand against a camel’s bollock.
But we could live with that, the previous owner had clearly put a lot of hours in which saved us from doing it. We just wanted to get her up and running and then spend the following winter giving her a make over. We still didn’t know if she was going in a skip at this point.
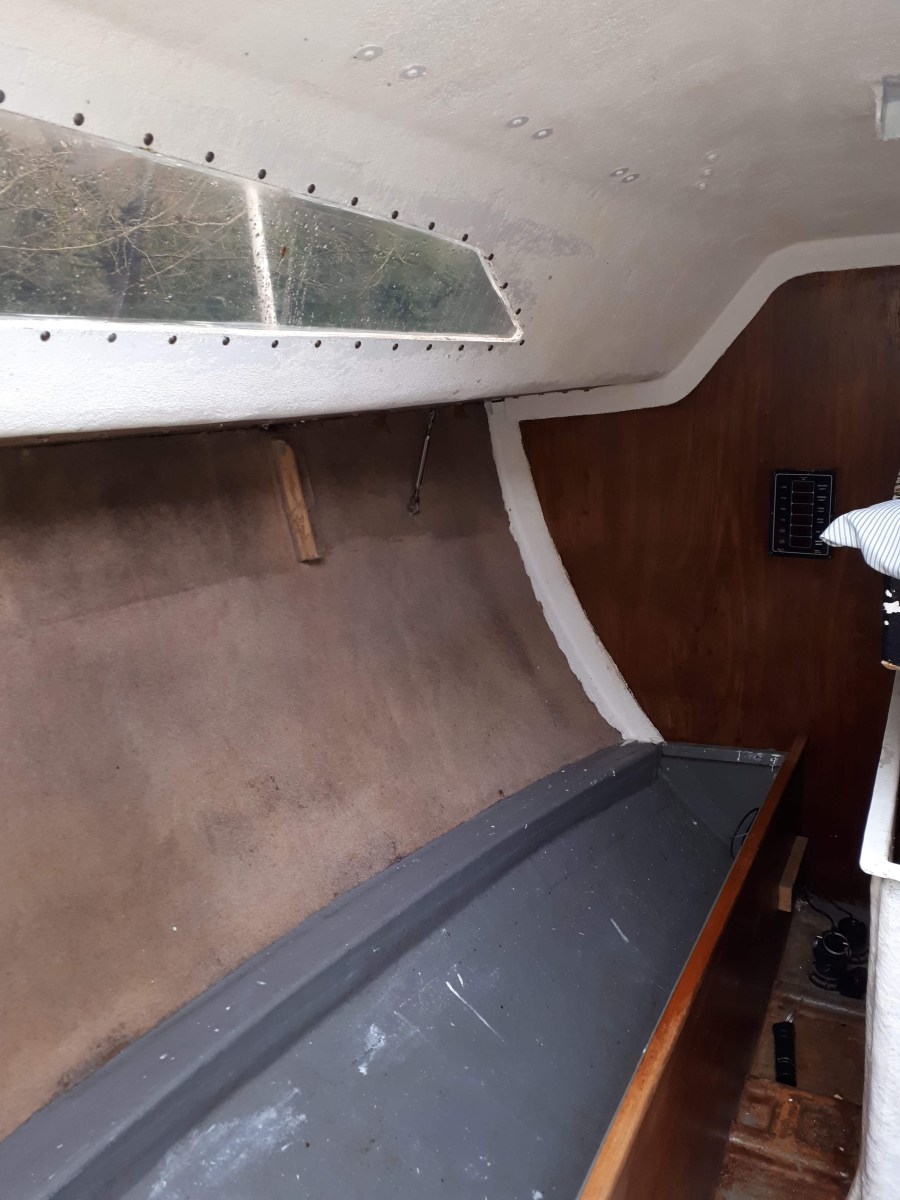
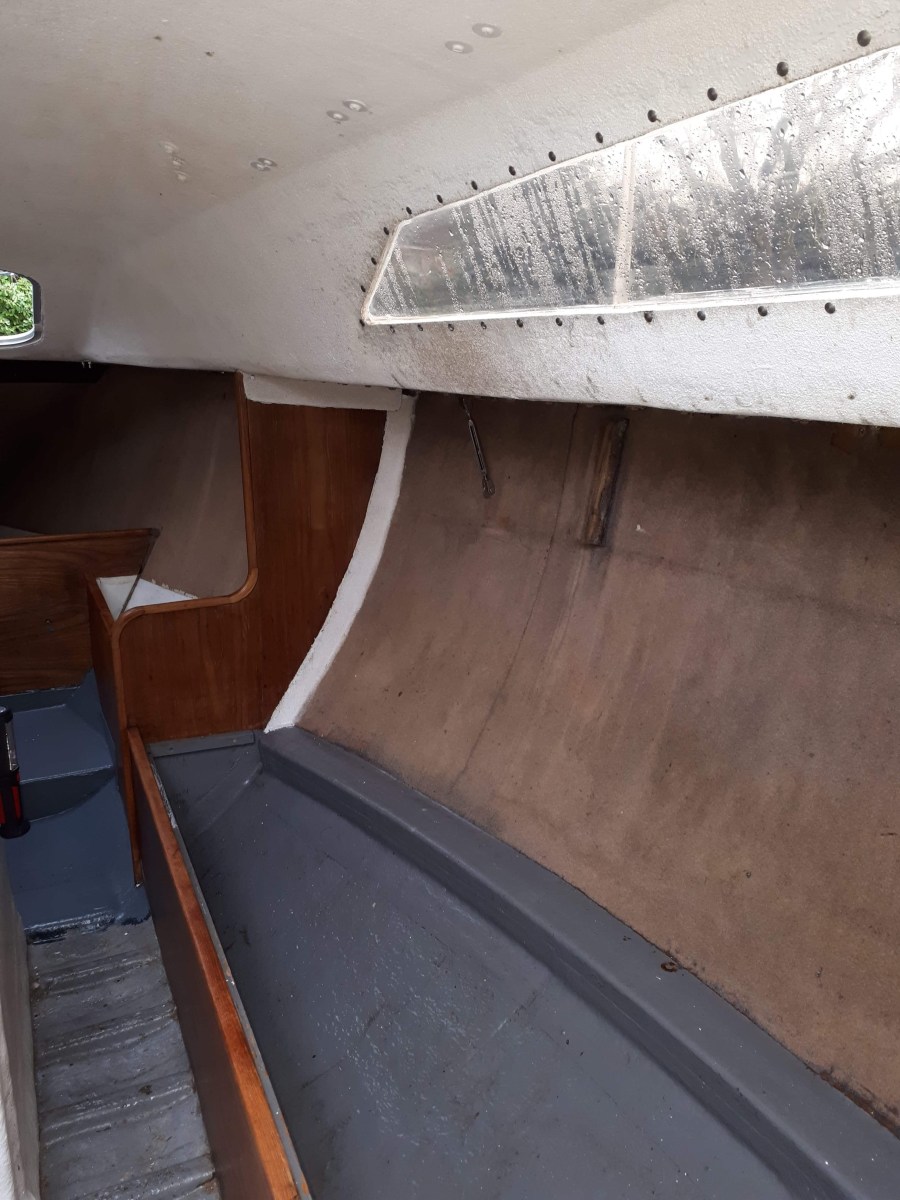
So we began to put her back together and gradually she felt a bit more like a cosy little cruiser.
We needed an outboard
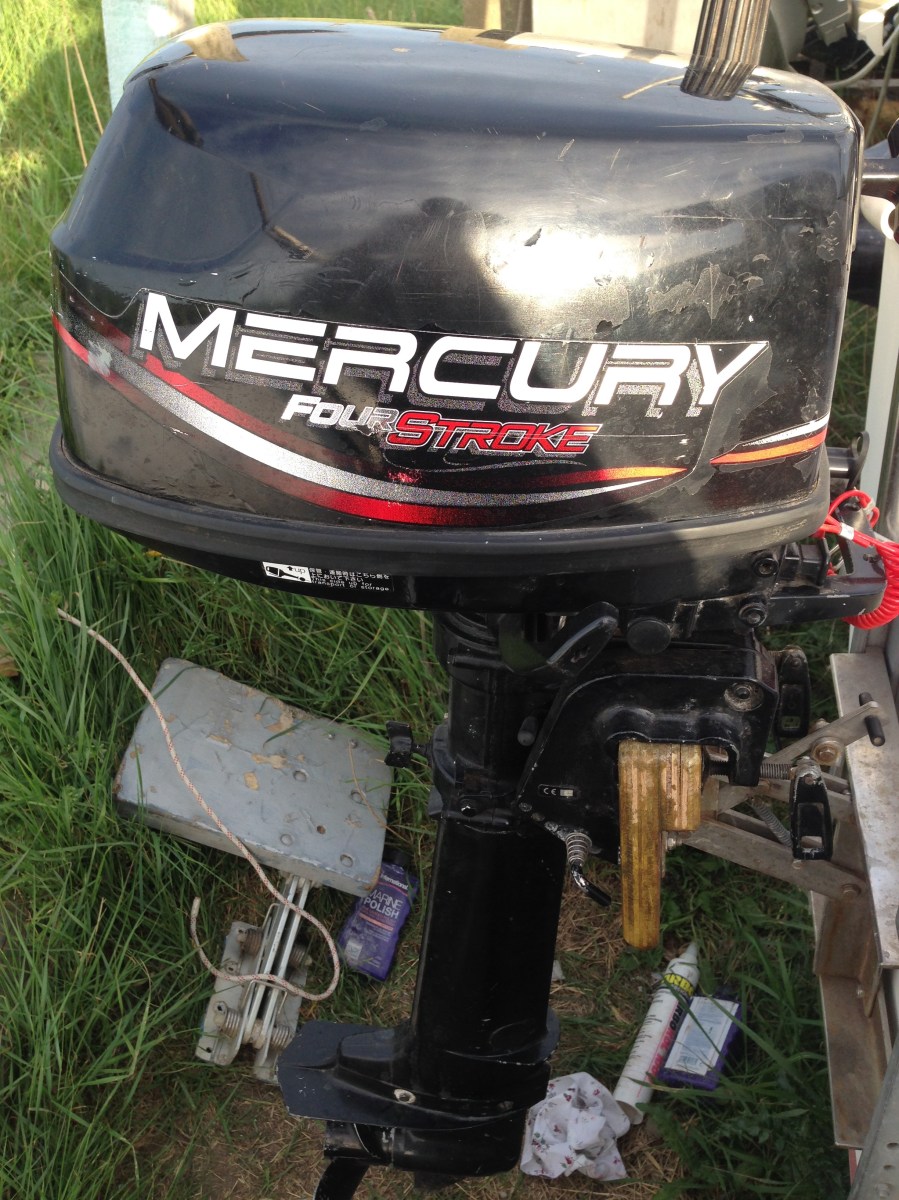
The outboard that came with Elise would have been ok if we sailed in non tidal waters. But we get tidal flows in excess of 5 knots here at Southwold. We needed something that would push us around. Feeling like we didn’t want to dig too deep into our pockets, I managed to swap a sailing dinghy for a 5 HP Mercury 4 stroke from a friend at the club. It was a good deal for both of us.
Final bits
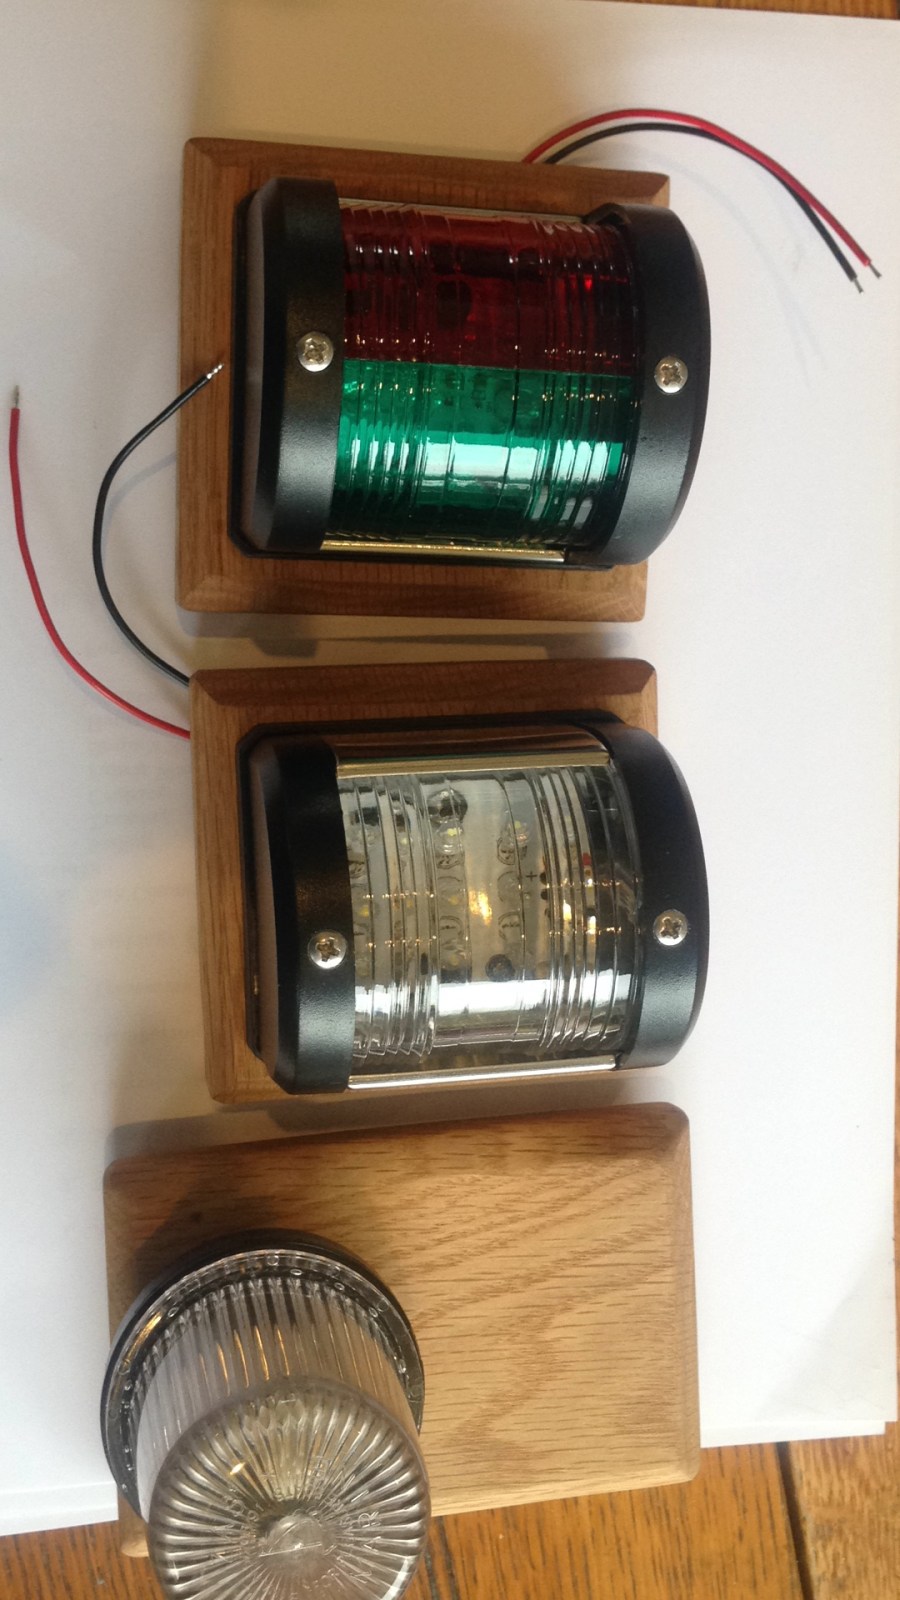
A cruiser isn’t a cruiser if it doesn’t have nav lights, I made up some oak mounting blocks and mounted a new bicolour, stern light and mast head light. Not sure how much night sailing we might do but I was getting proper carried away!
After applying a few coats of anti fouling Elise was all loaded and ready to be taken down the harbour, rigged and hopefully launched. With Boris announcing the easing of lockdown measures, we were getting close and I was bursting with excitement! I’d survived lock down and kept myself busy doing something that I might be able to enjoy as a result. This was exactly what I wanted.
Lock down eased
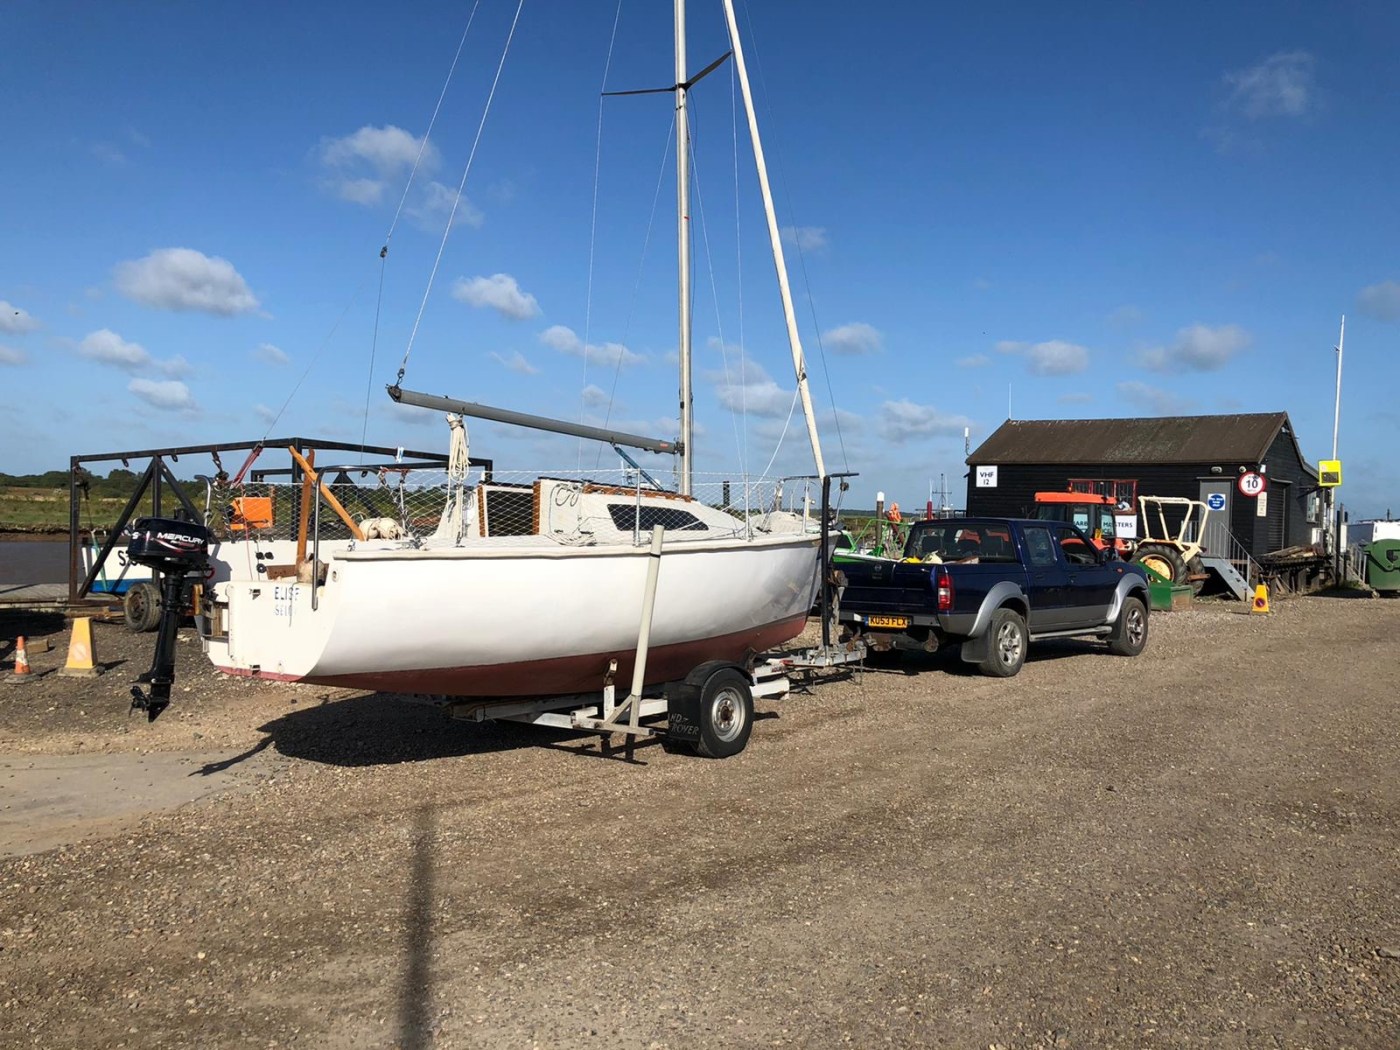
Lock down eased and we towed Elise down to the harbour, put the mast up, threaded all the running rigging and put the genoa on. It was a glorious day too with a gentle breeze blowing from the south.
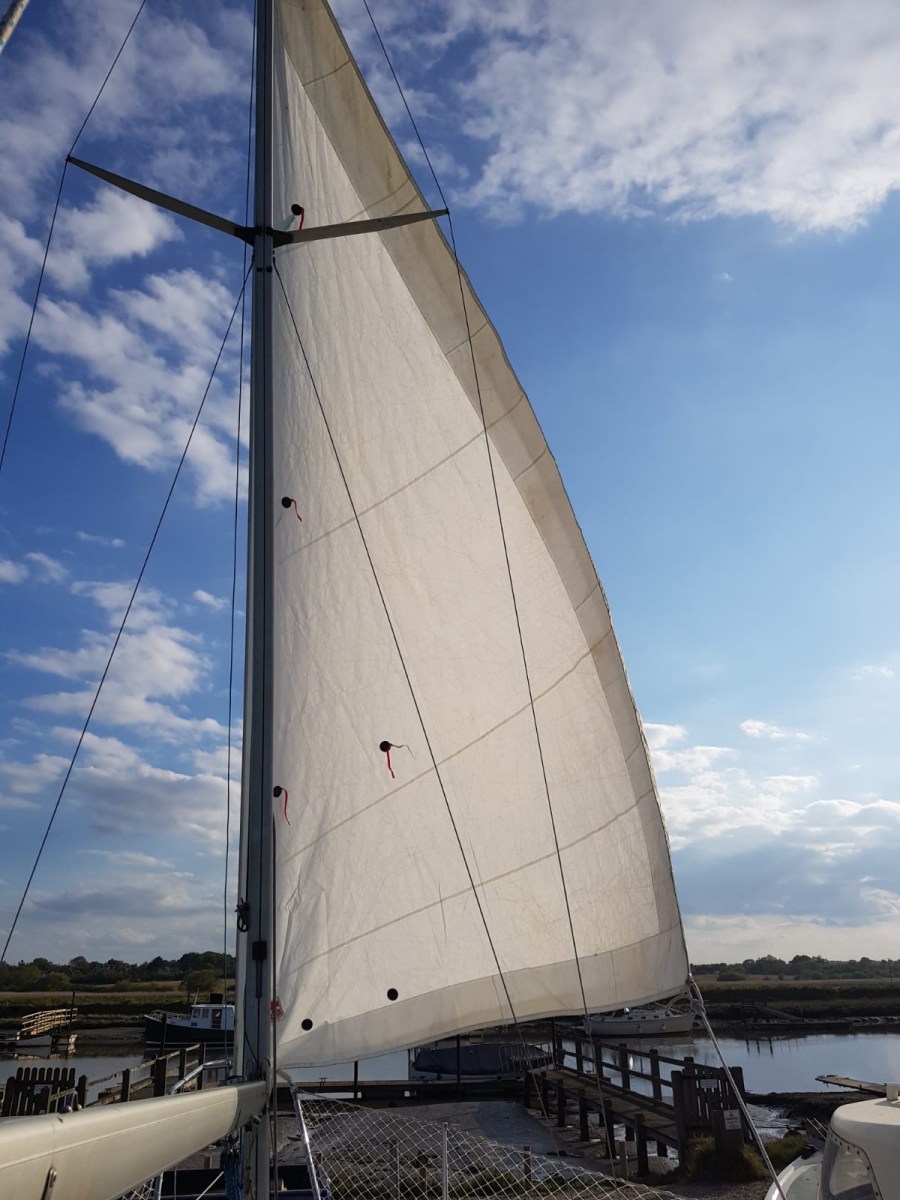
We made our way to the slip!
We were ready to launch and test sail. My best mate Nathan and partner Rea were coming down to celebrate with us and to enjoy our first sail together. It was very exciting. We moved Elise near the slip way in anticipation of what may happen when she goes in the water! Needless to say I was so excited. If all went well I was going to sail every opportunity until I was completely boated out!
Cost so far
Let’s have a quick tally up on costs so far
- Initial purchase £1450
- Sail repair £160
- Varnish £30
- Nav lights £45
- Deck paint £45
- Antifoul £40
- Total= £1770
So with the initial purchase price of £1450 and £320 to get her into a sailable condition we were doing very well. Just to note here, I am talking about how much money we have had to pay so far. I had a load of stuff in stock from other projects such as epoxy and gel coat and the engine I swapped which later on, we will cash in for an upgrade.
Thanks for reading my post!
If you would like to read about our launch day and sea trials click here.
Enjoyed This Read?
BOATED OUT is entirely self-funded. If you’d like to help keep the videos coming, here’s how – no pressure at all.

