A V Berth for the Kids
So, we’ve bought a trailer sailer, done her up a bit, sea trialed her, broken the rudder at sea and now we are rudderless. While producing a new rudder I decided to convert the fore peak into a v berth for Nellie and Martha aged 5 and 4 at the time. The fore peak was not big enough for a proper berth and was only storage.
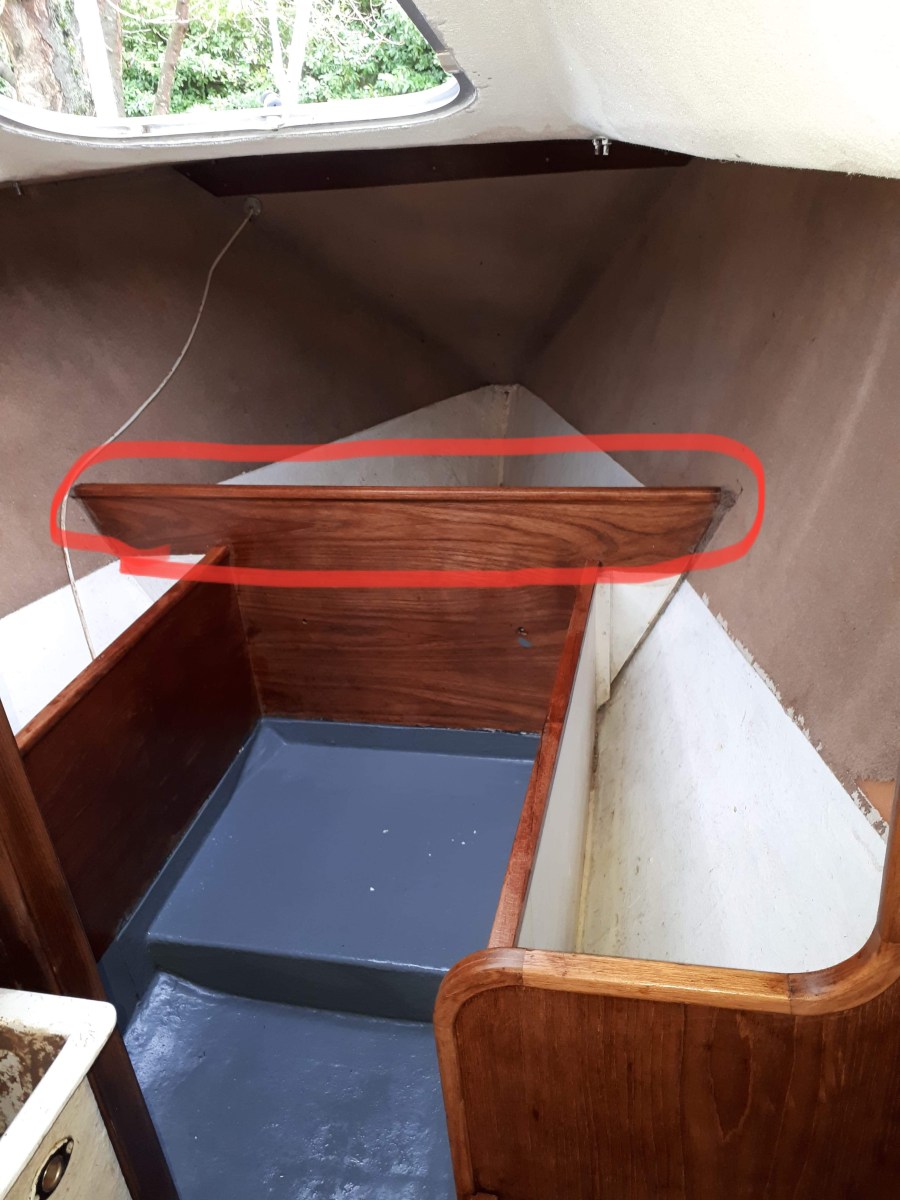
The plan
- Cut out the area in red
- Glass in a support further forward
- Make removable slats to support infill
- Template and cut ply base
- Buy foam and cut to shape
- Upholster the foam
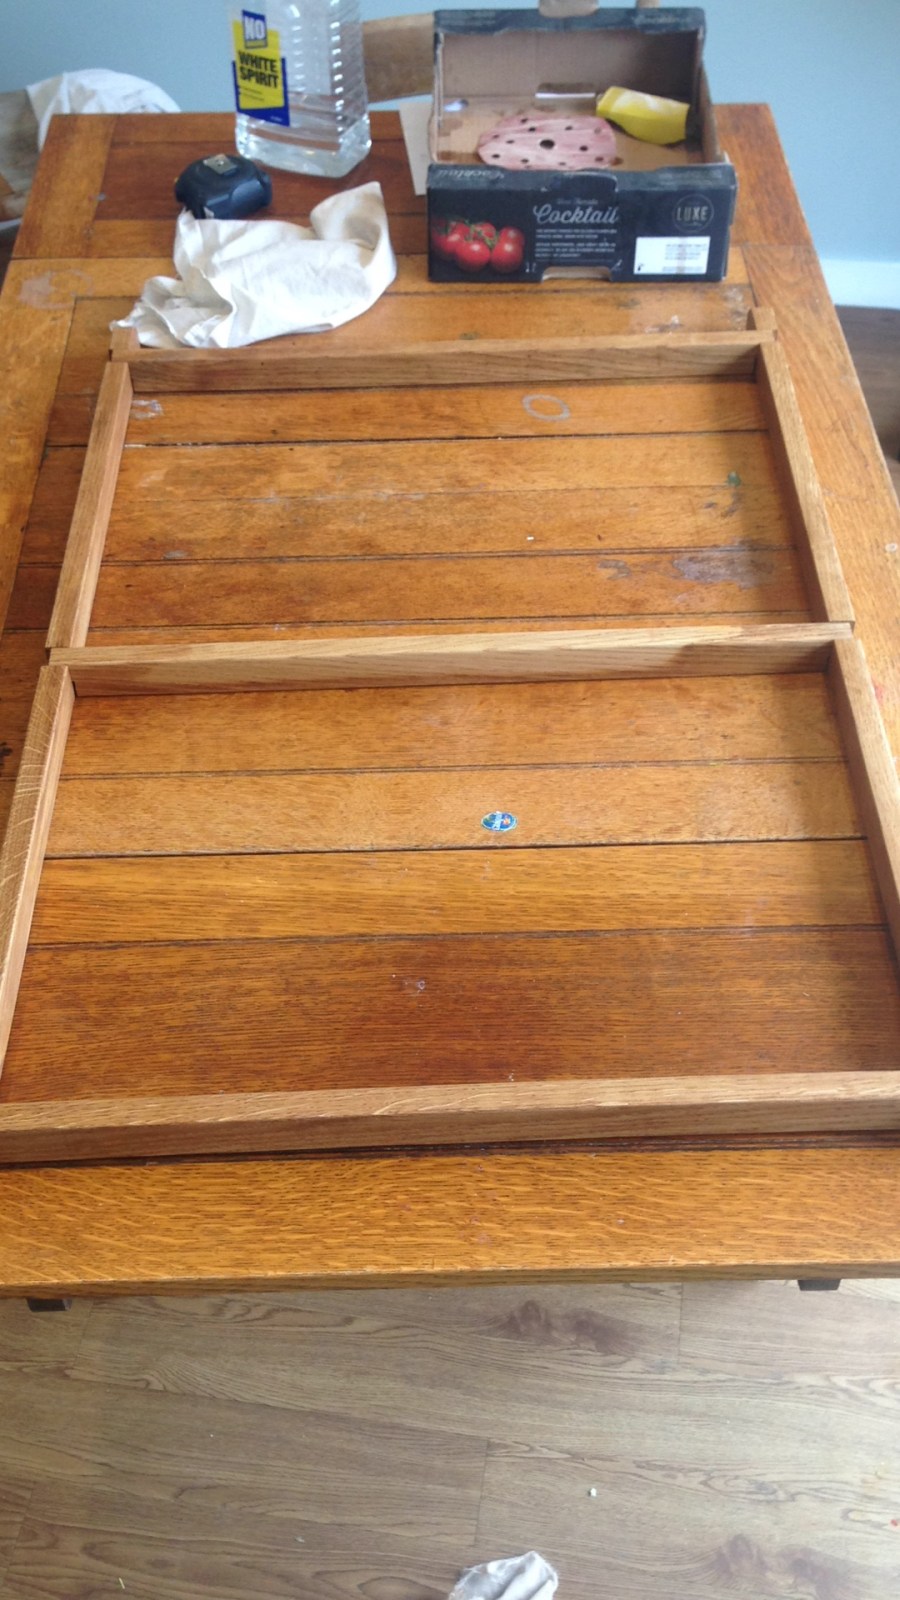
Cutting out the raised bit was easy, multi cutter! I then glassed in the bit I cut off further forward to support the ply base. I then made a removable slatted frame to infill. I made this out of oak batten.
I then templated the sections where the ply was going to sit and cut them out. I had the ply in stock from another project.
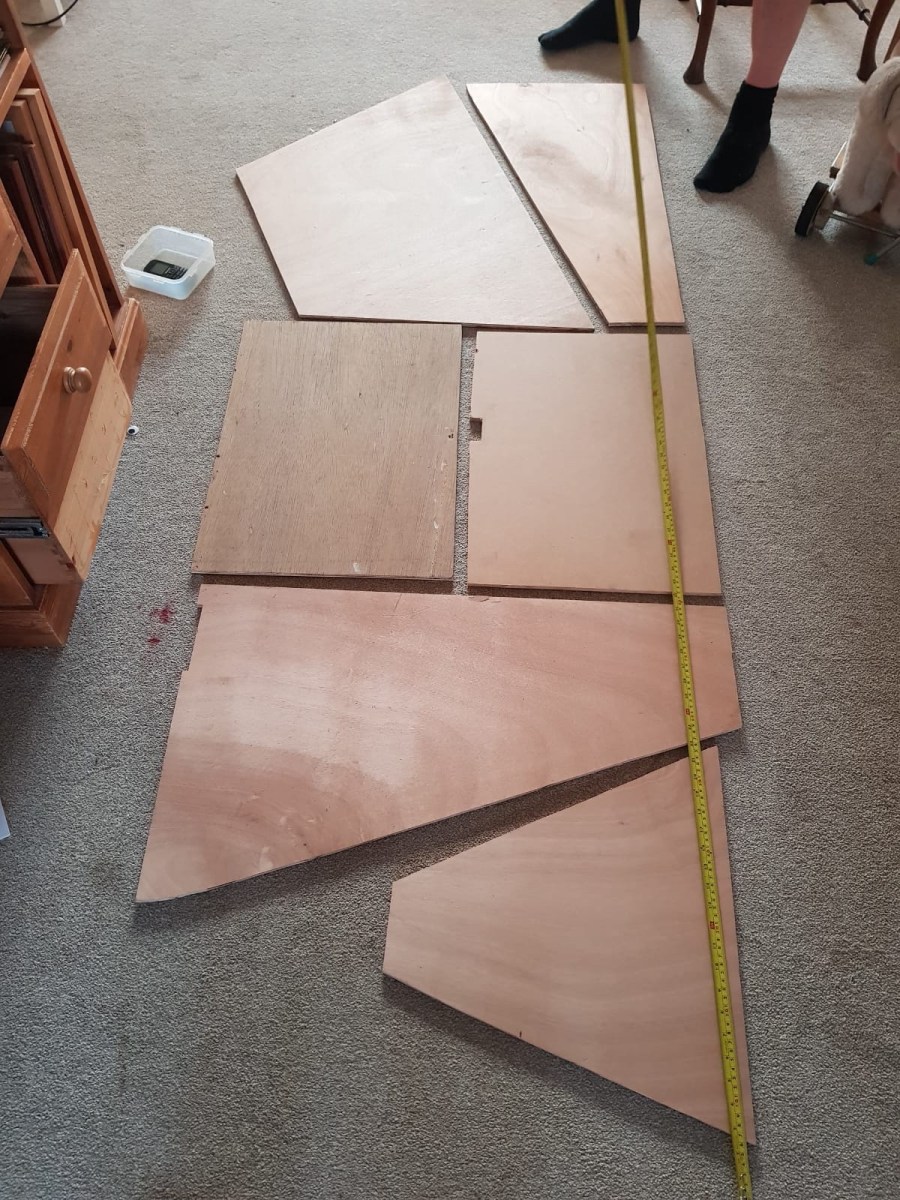
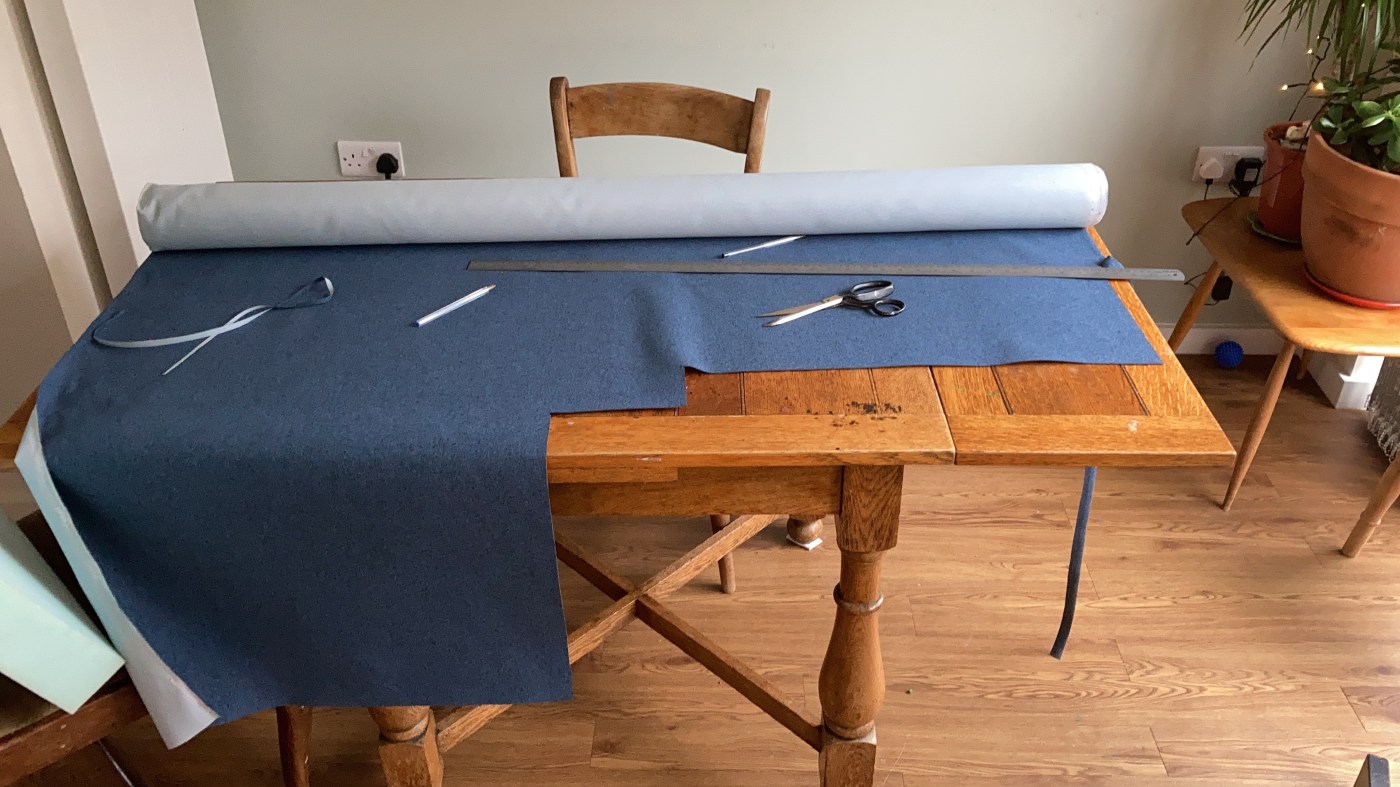
I then had to work out how much foam I needed, so I overlaid them so they fitted on a 8×4 sheet. I ordered the foam, and cut them out with an electric bread knife. We were looking good!
Next job was to order the fabric, always nerve racking but we found a cheap high quality one that was ideal.
Learning to sew
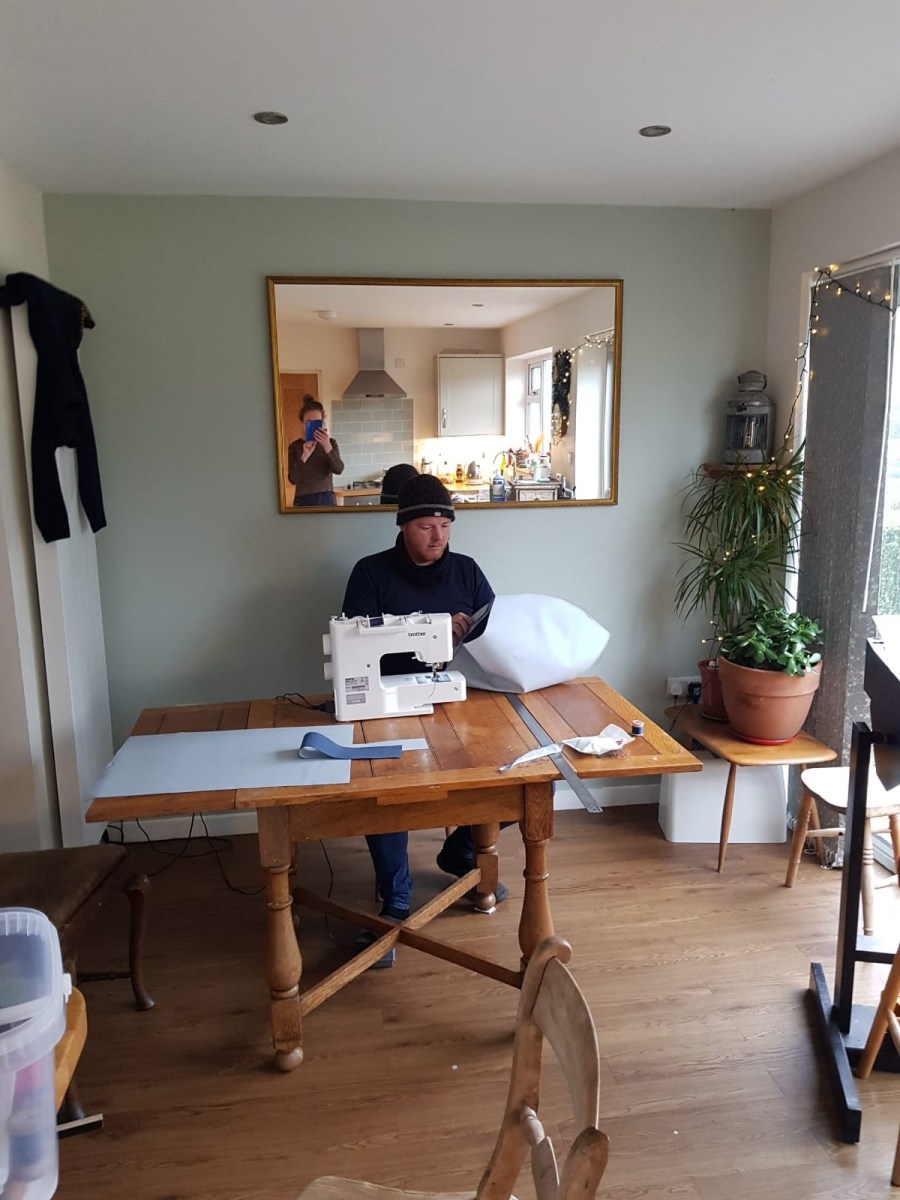
Libby is pretty handy on a sewing machine so she gave me a demo of how to use it and set it up properly, with regards to upholstery; neither of us had a clue, so I jumped on YouTube. After a few videos I was now an expert and could start my own business in upholstery!
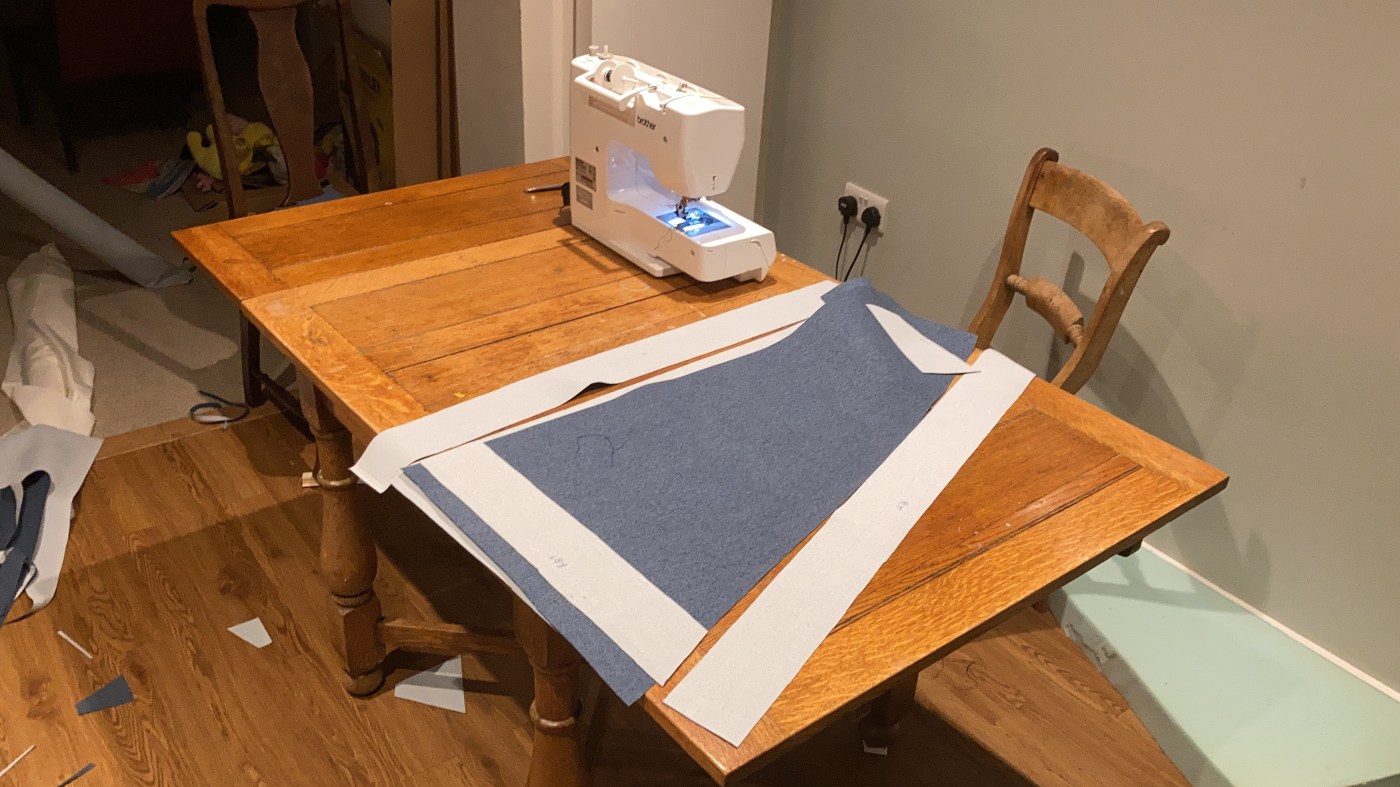
What I learned was that you need to mark the exact size on the fabric, add 1/4 inch on for your seems then take 1/4 inch off so that the cover wasn’t baggy and that it hugged the cushion. I bet you are reading that again wondering what the catch is there!! And yes I read it the same way! Draw around your cushion!!!!!!
I tend to be a bit of a perfectionist when it comes to this kind of stuff, after all, I want it to be the best it can be. So I marked the corners and used a ruler to keep the seems straight. Then cut them out. Top layer, bottom layer and the walls. The sides of the cushions were cut to mould the edges of the hull, I did this by eye and it worked really well.
Sewing
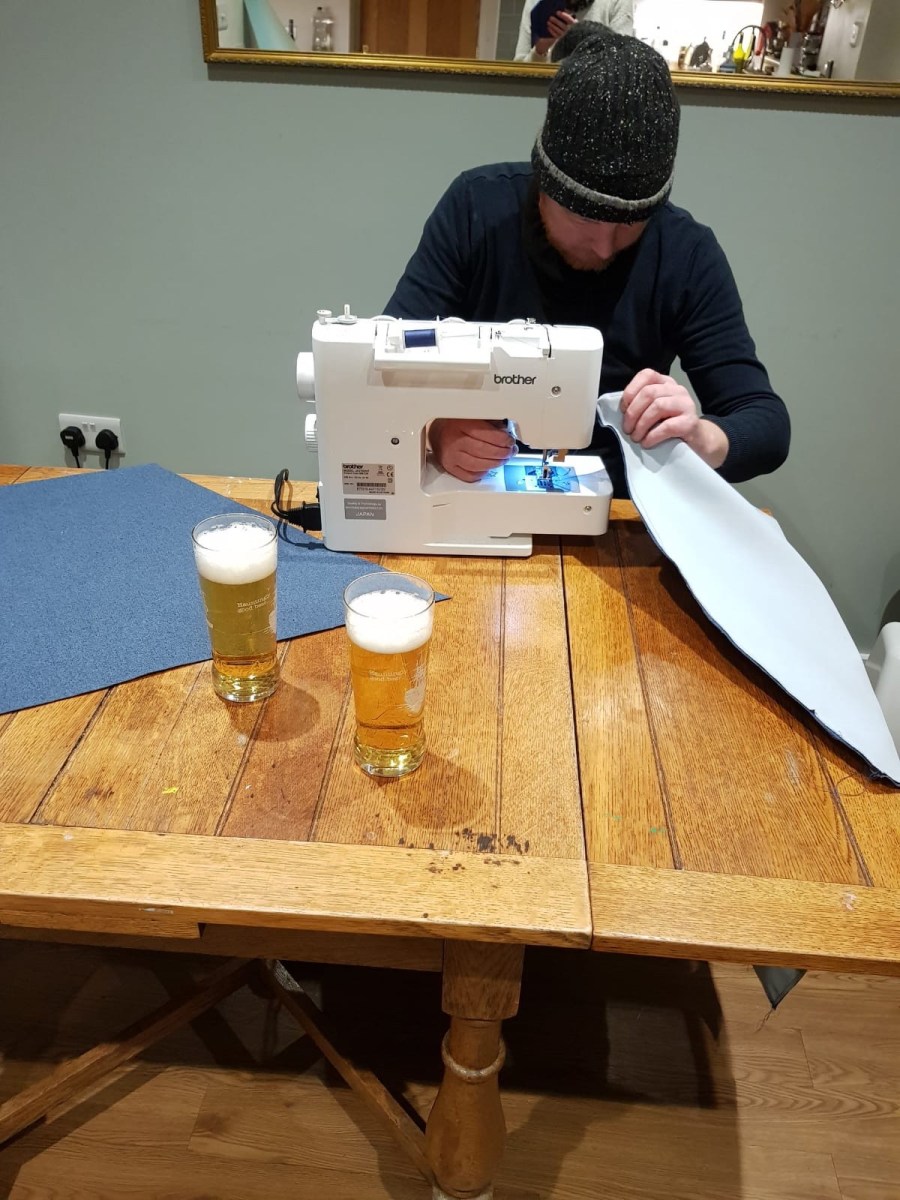
Now that I was an expert I took to the sewing machine. The first attempt I got into a bit of a frap and got a few birds nests, then I sewed a bit on upside down, but once I’d learned about thread tension there was no stopping me. I was immersed and did not want to be distracted!
Stuffing the cover with the cushion
In an ideal world, I would have sewn zips in but I didn’t have any and didn’t want to buy them and spend longer than I wanted to. I had dedicated a certain amount of time to them and especially as I had a rudder to build.
After a short while I started to churn out some covers, they then needed stuffing and then over to Libby to hand stitch them closed. I didn’t want to spend time stuffing them as I wanted to get on cutting out the next cushion, so I kind of stuffed them in a weird frantic way making it clear my attention was diverting back to the sewing machine. We did develop a good technique for stuffing though. I’ll let you know in a bit.
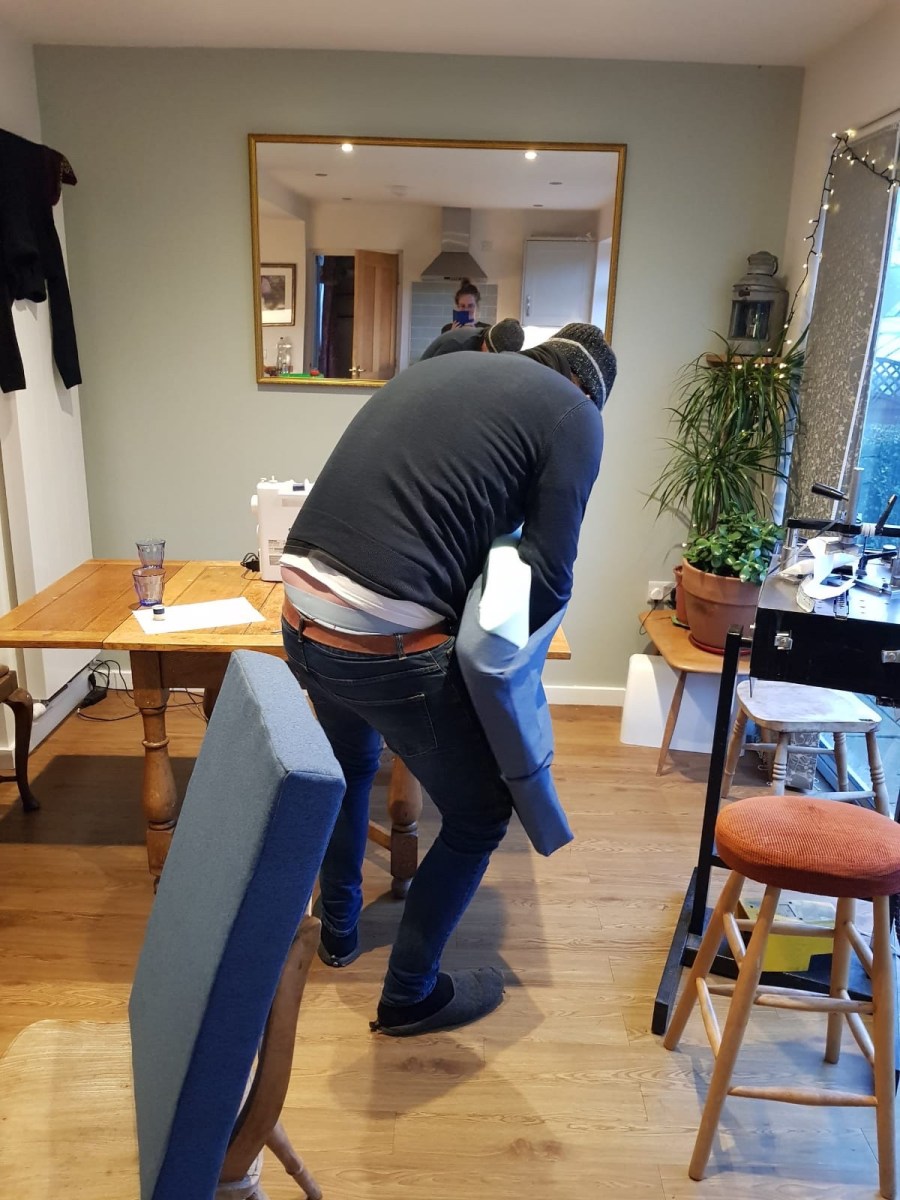
The technique
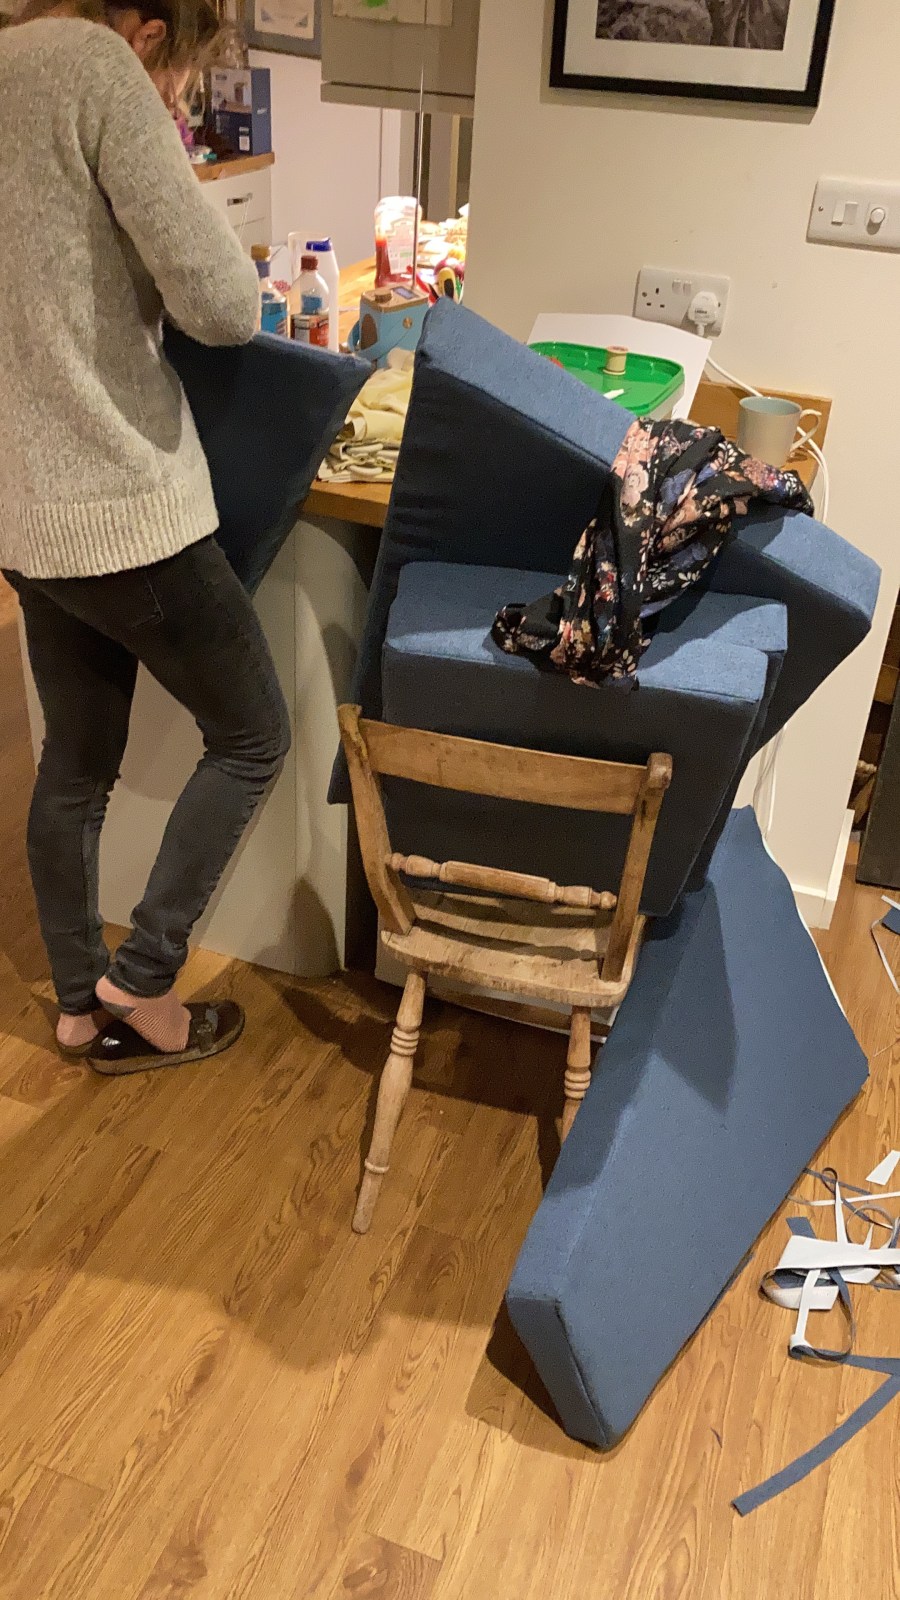
We were almost complete. In the end we could cut them out, sew them and stuff them in about 45 mins per cushion. We were very impressed with the fabric too.
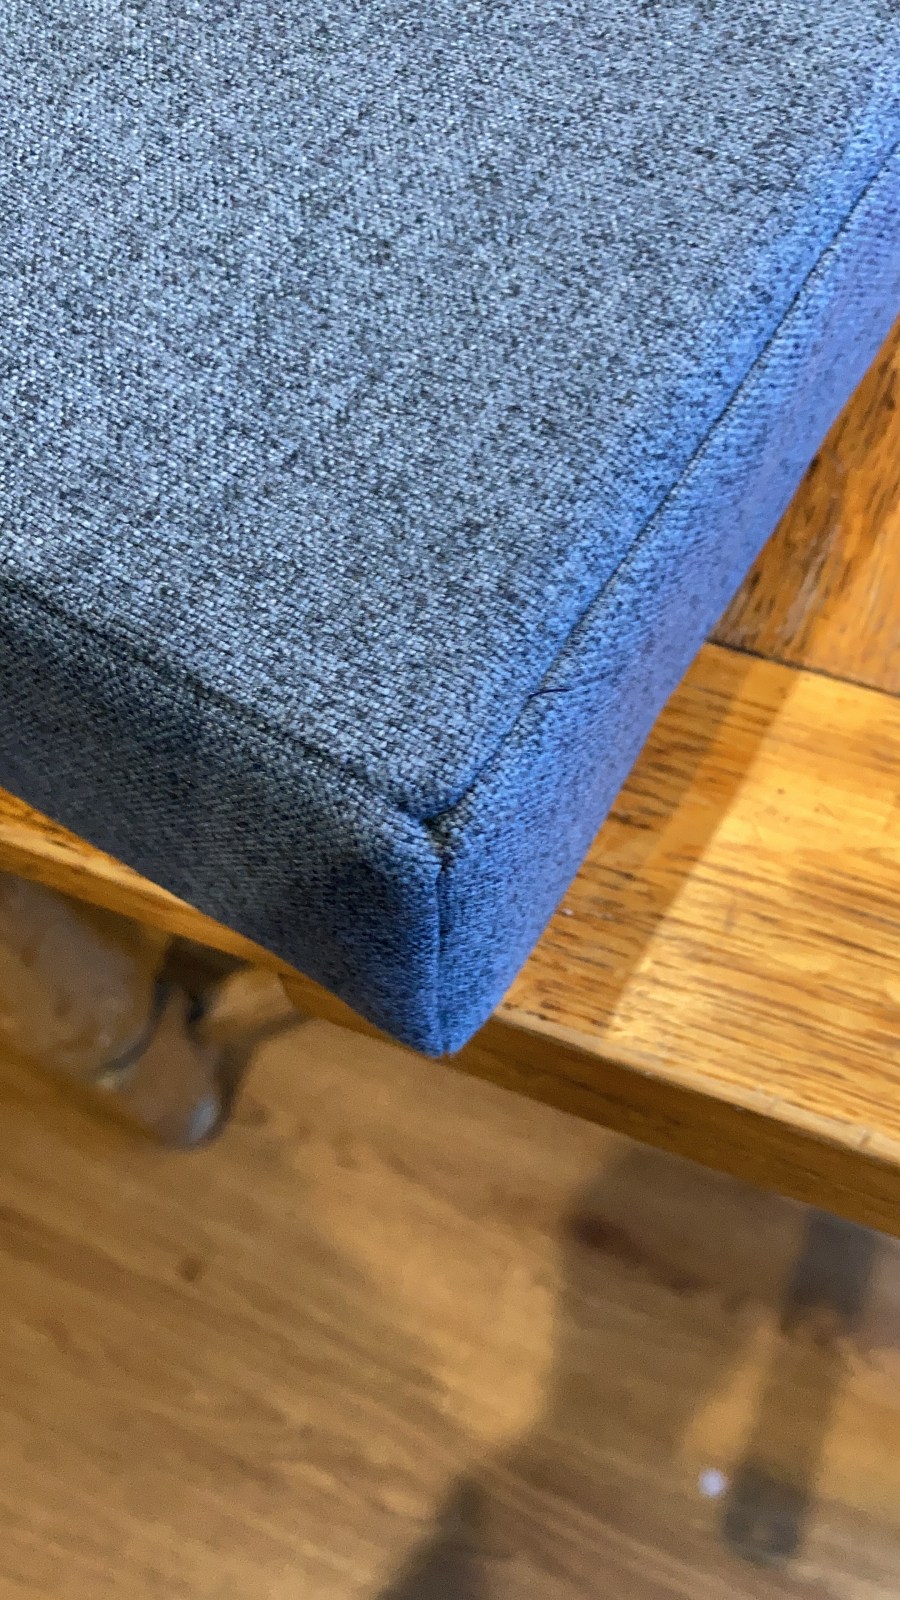
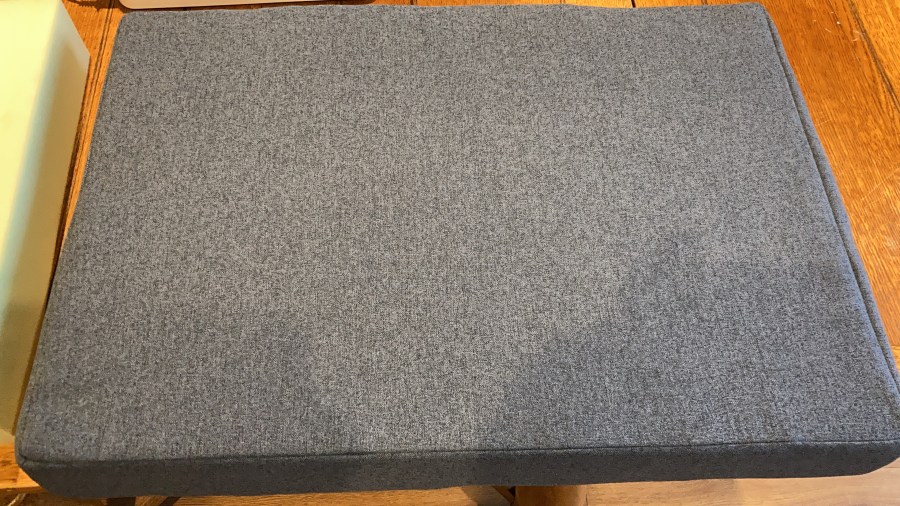
Laying them out
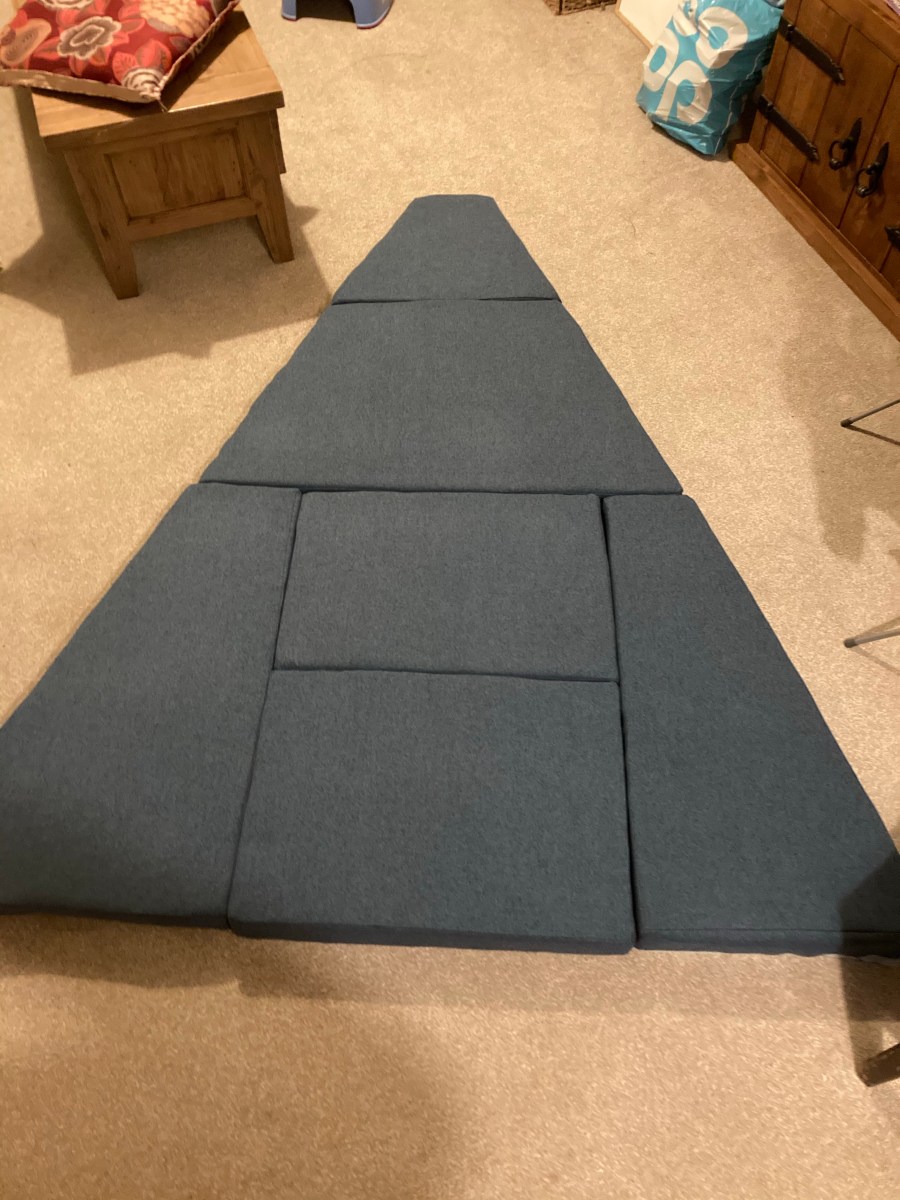
We were very happy with this little project, the design was ideal giving the ability to access any compartment in the bow by removing one cushion and the ply base underneath. Now to see if it fits in the boat.
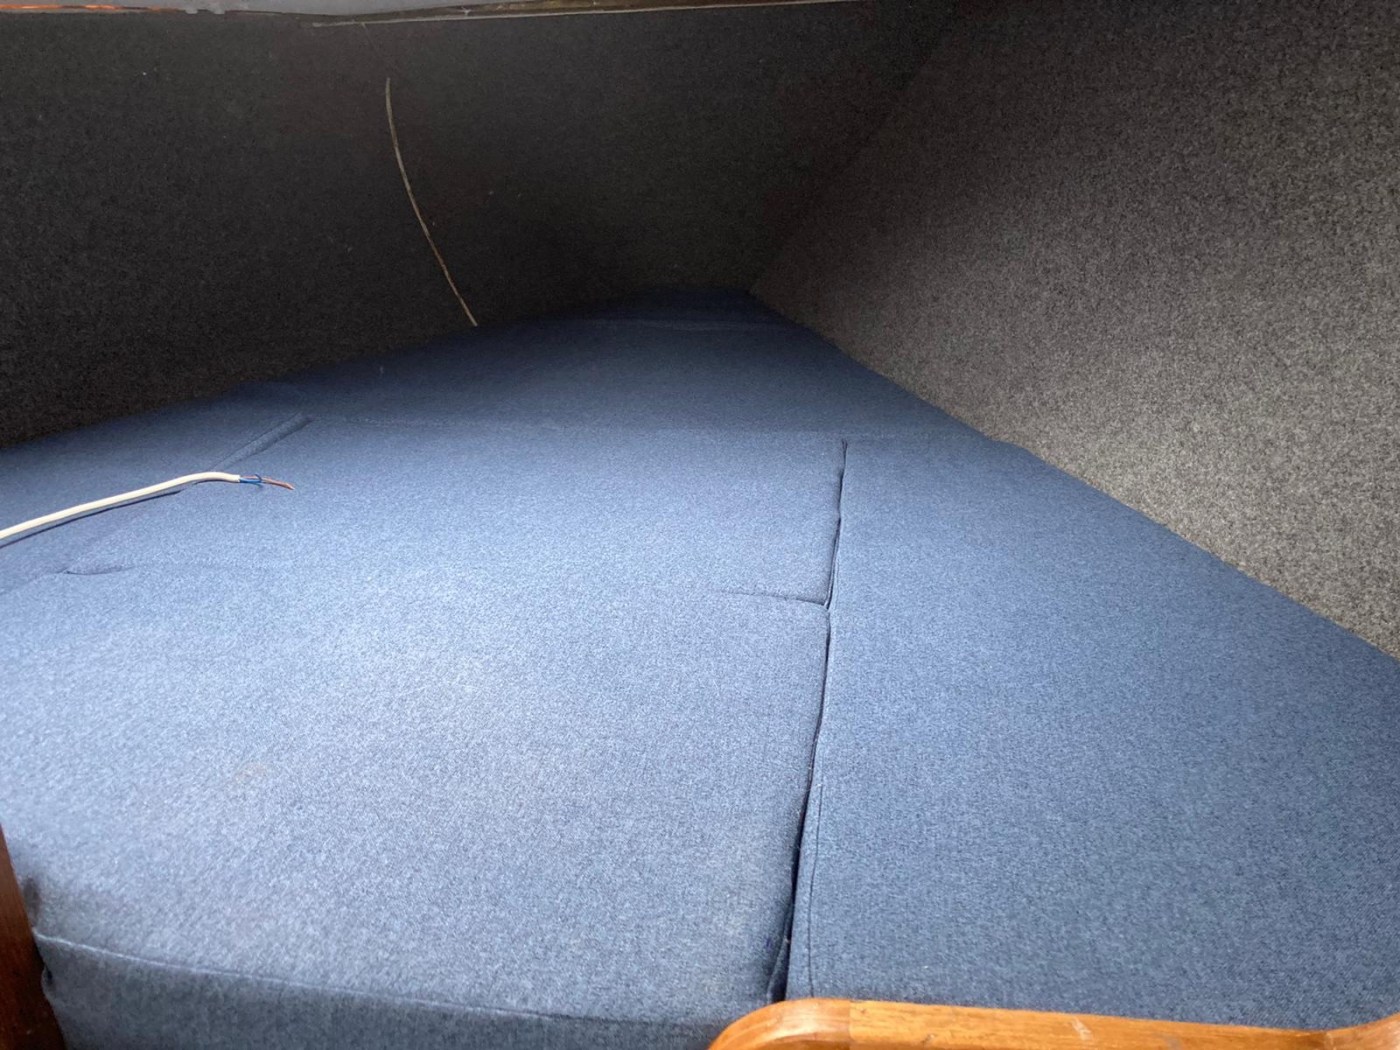
Now we needed to see what the kids thought.
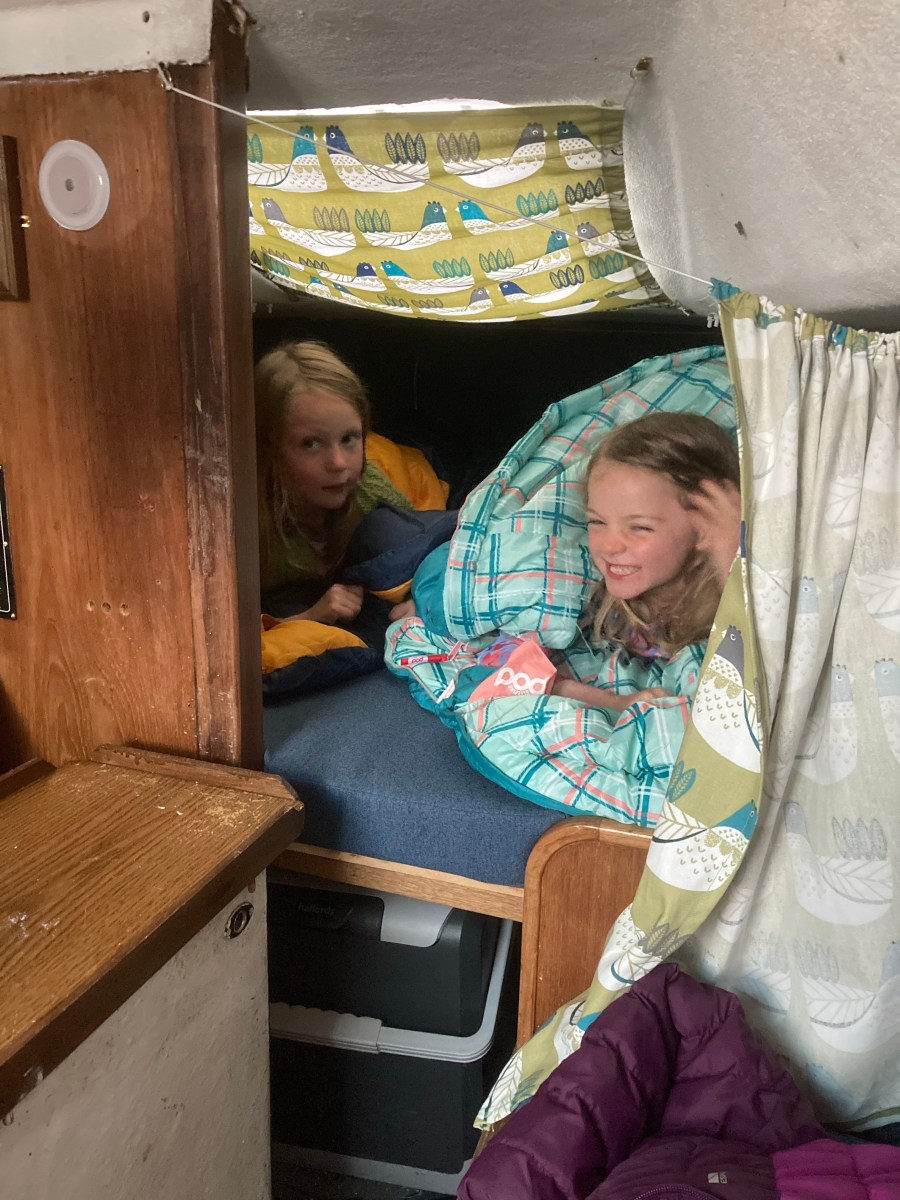
The great thing about this project is that it gave the girls their own cosy space. It’s actually a decent size In there. The fabric was amazing and a very decent price. We needed to get more so we could do the rest of the cushions. Then we really need to redo the camel bollock carpet lining too. With these jobs done, she would be really cosy inside. Perhaps a job for the winter.
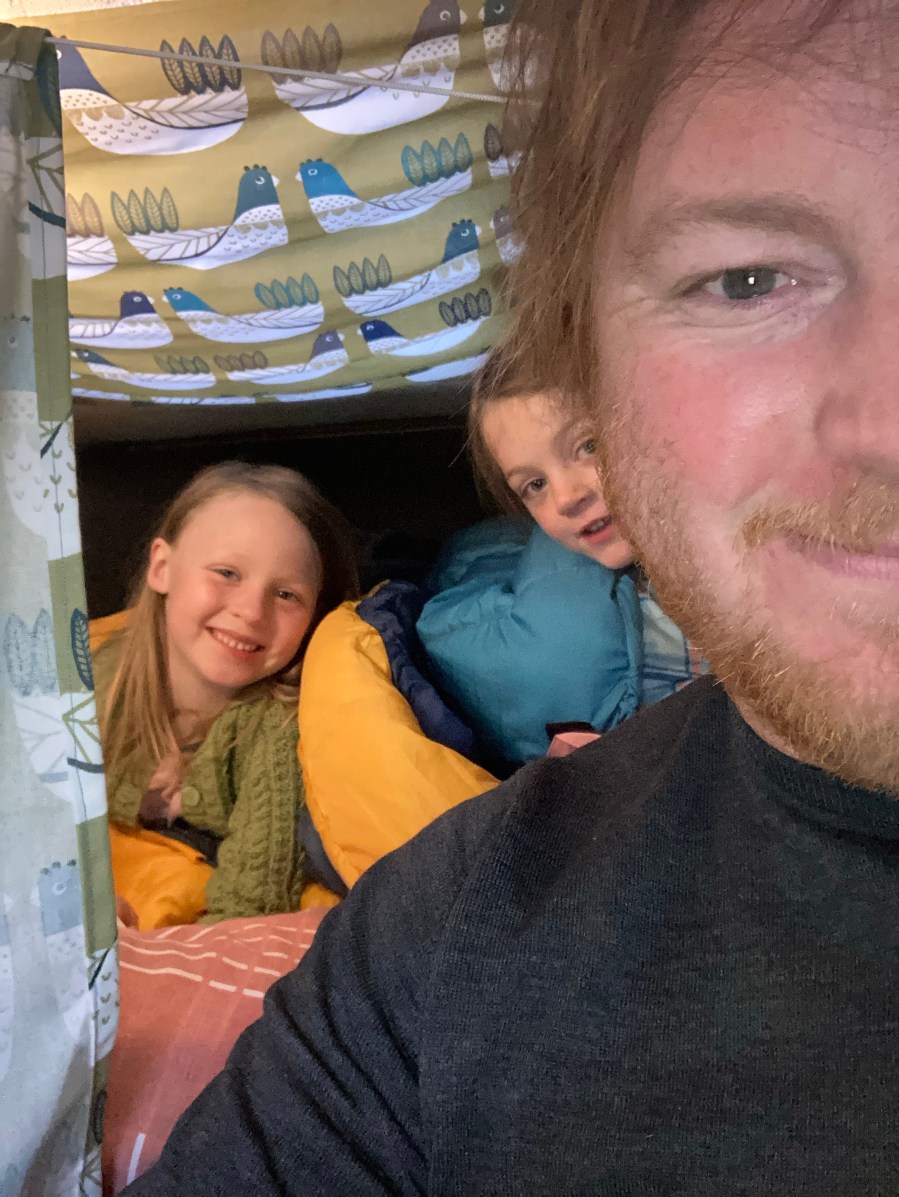
The question is
Could Nathan and Rea sleep in there if we did an adventure! Well, stay tuned if you want to find out! We had a horrendous night aboard in a Gale. You can read about that here.
You can read about making a new rudder here.
Enjoyed This Read?
BOATED OUT is entirely self-funded. If you’d like to help keep the videos coming, here’s how – no pressure at all.

